已解决
Ubuntu22.04 交叉编译GCC13.2.0 for Rv1126
来自网友在路上 168868提问 提问时间:2023-11-21 19:45:38阅读次数: 68
最佳答案 问答题库688位专家为你答疑解惑
一、安装Ubuntu22.04
sudo apt install vim net-tools openssh-server二、安装必要项
sudo apt update
sudo apt upgrade
sudo apt install build-essential gawk git texinfo bison flex
三、下载必备软件包
1.glibc
https://ftp.gnu.org/gnu/glibc/glibc-2.38.tar.gz
2.gcc
https://ftp.gnu.org/gnu/gcc/gcc-13.2.0/gcc-13.2.0.tar.gz
3.binutils
https://ftp.gnu.org/gnu/binutils/binutils-2.41.tar.xz
4.Linux kernel
https://mirrors.edge.kernel.org/pub/linux/kernel/v6.x/linux-6.6.tar.gz
下载完成后存在在/opt目录下

四、在/opt目录下创建编译文件夹,且解压文件
mkdir build-gcc
mkdir build-glibc
mkdir build-utils
mkdir packet #gcc 打包目录 
五、下载gcc依赖包
cd /opt/gcc-13.2.0/
./contrib/download_prerequisites这里主要下载的是gmp、mpfr、mpc、isl等库
六、安装内核头文件
cd /opt/linux-6.6
make ARCH=arm INSTALL_HDR_PATH=/opt/packet/arm-linux-gnueabihf headers_install
rv1126 是32位的板子,故ARCH=arm,如需要64位的板子则:
make ARCH=arm64 INSTALL_HDR_PATH=/opt/packet/arm-linux-gnueabihf headers_install七、编译binutils
cd /opt/build-utils
../binutils-2.41/configure --prefix=/opt/packet --target=arm-linux-gnueabihf --with-arch=armv7l --with-fpu=vfp --with-float=hard --disable-multilib
make
make install
rv1126的板子是armv7l, 故 --with-arch=armv7l
八、部分编译gcc
cd /opt/build-gcc
#../gcc-13.2.0/configure --prefix=/opt/packet --target=arm-linux-gnueabihf --enable-languages=c,c++,fortran  --with-fpu=vfp --with-float=hard --disable-multilib../gcc-13.2.0/configure --prefix=/opt/packet --target=arm-linux-gnueabihf --enable-languages=c,c++ --with-fpu=vfp --with-float=hard --disable-multilib --enable-libstdcxx  --enable-libgm2 --enable-libssp  --enable-sharedmake -j8 all-gcc
make install-gcc
九、部分编译glibc
cd /opt/build-glibcexport PATH=$PATH:/opt/packet/bin../glibc-2.38/configure \--prefix=/opt/packet/arm-linux-gnueabihf \--build=$MACHTYPE \--host=arm-linux-gnueabihf \--target=arm-linux-gnueabihf \--with-arch=armv7l \--with-fpu=vfp \--with-float=hard \--with-headers=/opt/packet/arm-linux-gnueabihf/include \--disable-multilib \libc_cv_forced_unwind=yesmake install-bootstrap-headers=yes install-headers make -j8 csu/subdir_libinstall csu/crt1.o csu/crti.o csu/crtn.o /opt/packet/arm-linux-gnueabihf/libarm-linux-gnueabihf-gcc -nostdlib -nostartfiles -shared -x c /dev/null -o /opt/packet/arm-linux-gnueabihf/lib/libc.sotouch /opt/packet/arm-linux-gnueabihf/include/gnu/stubs.h 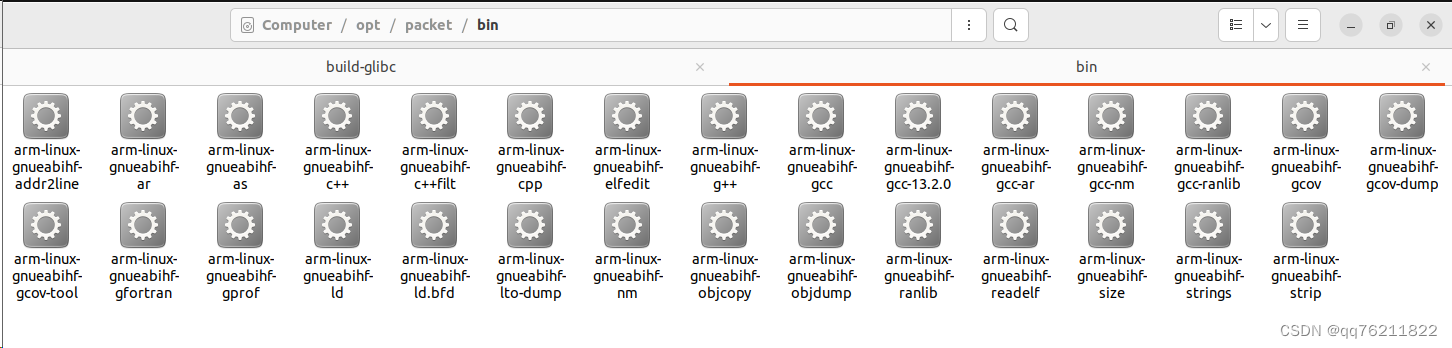
十、接着部分编译gcc
cd /opt/build-gcc
make -j8 all-target-libgcc
make install-target-libgcc
十一、全编译glibc
cd /opt/build-glibcexport PATH=$PATH:/opt/packet/binmake -j8make install十二、全编译gcc
cd /opt/build-gcc
make -j8 all-target-libgcc
make install-target-libgcc

查看文件
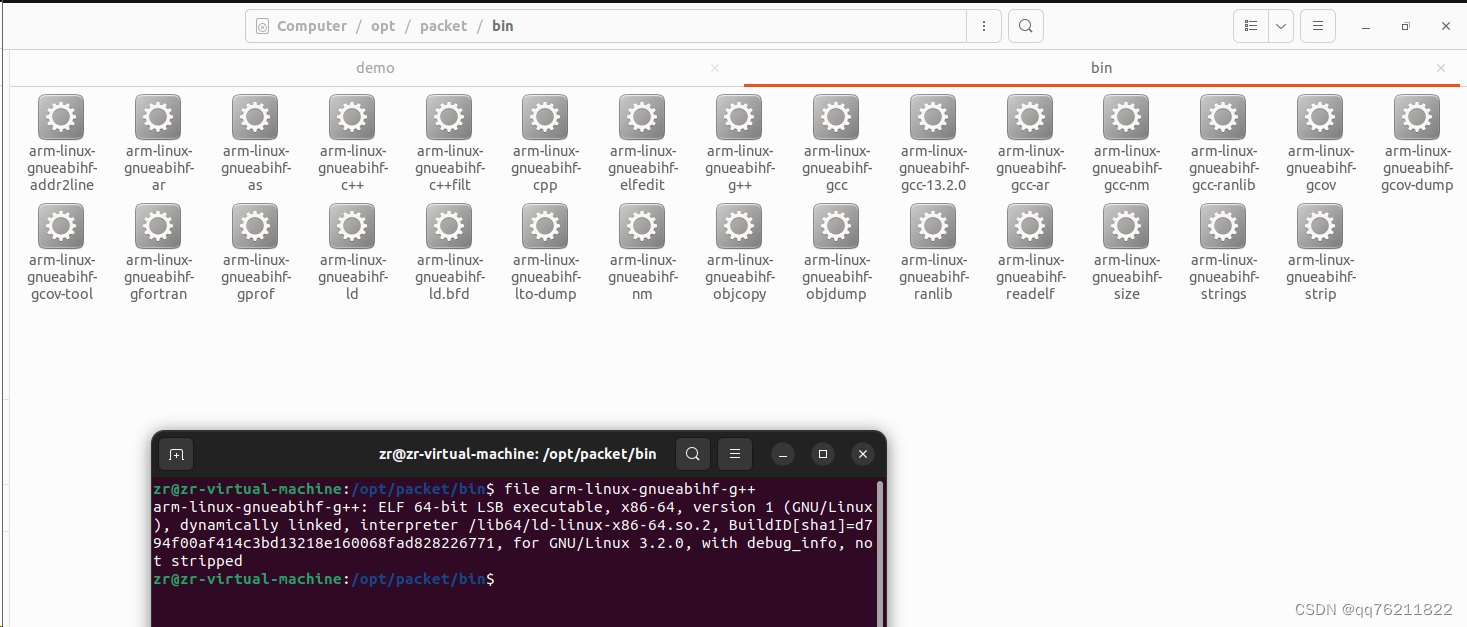
十三、测试
1.创建build.sh
#!/bin/bash/opt/packet/bin/arm-linux-gnueabihf-g++ test.cpp -o ./test -lpthread2.创建test.cpp
#include <stdio.h>
#include <thread>
#include <mutex>
#include <unistd.h>
#include <vector>
#include <algorithm>
using namespace std;std::mutex g_mutex;
std::vector<int>g_vData;void process()
{int n = 0;while(true){g_mutex.lock();g_vData.push_back(n++);g_mutex.unlock();}
}void Process1()
{while(true){g_mutex.lock();if(g_vData.size() > 0){std::vector<int>::iterator iter = g_vData.begin();printf("%d\n", *iter);g_vData.erase(iter);}g_mutex.unlock();}
}int main()
{printf("hello\n");std::thread* pthread = new std::thread(process);std::thread* pthread1 = new std::thread(Process1);sleep(-1);return 0;
}
3.执行
sudo chmod 777 ./build.sh
./build.sh
4.将test这个执行程序拷贝到arm板
十四、参考链接
aarch64-linux-gnu_交叉编译工具链_gcc-9.3.0-x86_64_arrch64-linux-gnu-CSDN博客
创建飞腾CPU的交叉编译环境_飞腾内核编译-CSDN博客
交叉编译生成可以在ARM64平台上运行的gcc_gdb arm64交叉编译-CSDN博客
查看全文
99%的人还看了
猜你感兴趣
版权申明
本文"Ubuntu22.04 交叉编译GCC13.2.0 for Rv1126":http://eshow365.cn/6-41499-0.html 内容来自互联网,请自行判断内容的正确性。如有侵权请联系我们,立即删除!