CICD 持续集成与持续交付——jenkins
最佳答案 问答题库798位专家为你答疑解惑
部署
软件下载:https://mirrors.tuna.tsinghua.edu.cn/jenkins/redhat/
[root@cicd2 ~]# rpm -ivh jdk-11.0.15_linux-x64_bin.rpm[root@cicd2 ~]# yum install -y fontconfig[root@cicd2 ~]# rpm -ivh jenkins-2.432-1.1.noarch.rpm启动服务
[root@cicd2 ~]# systemctl enable --now jenkins.service[root@cicd2 ~]# netstat -antlp|grep :8080
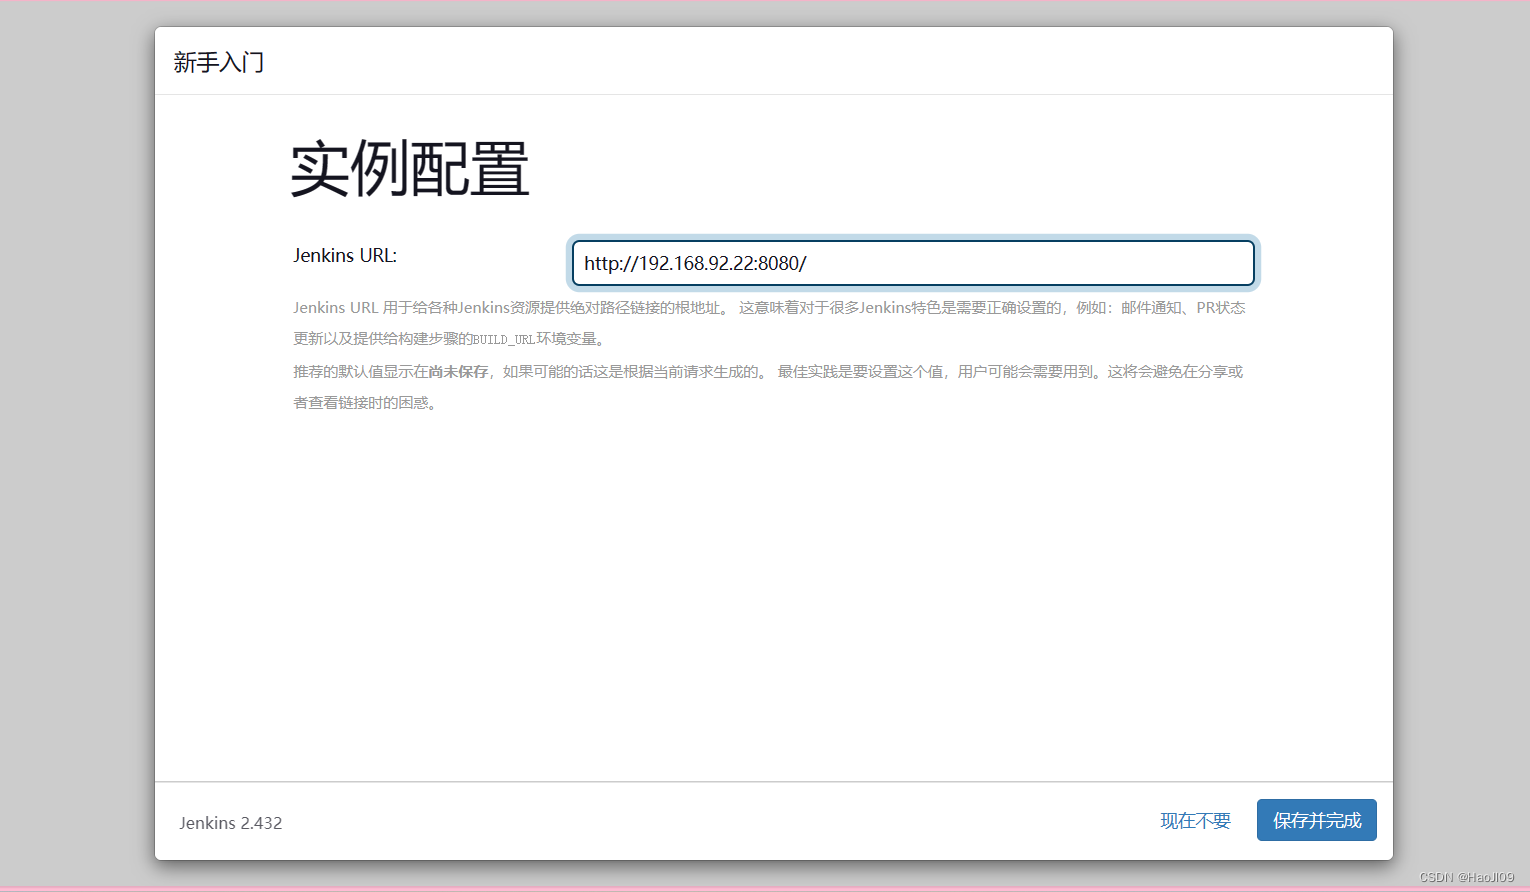
登录
192.168.92.22:8080
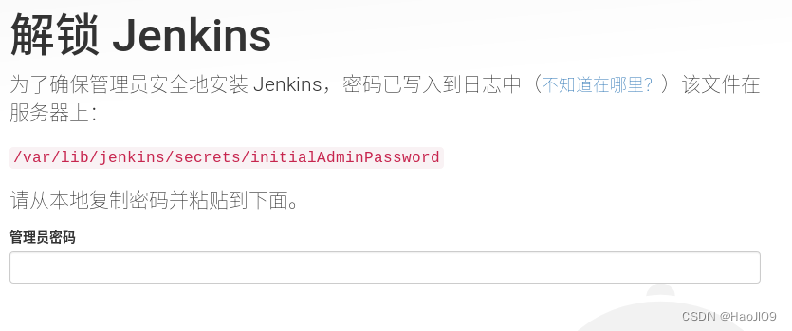
初始密码
[root@cicd2 ~]# cat /var/lib/jenkins/secrets/initialAdminPassword
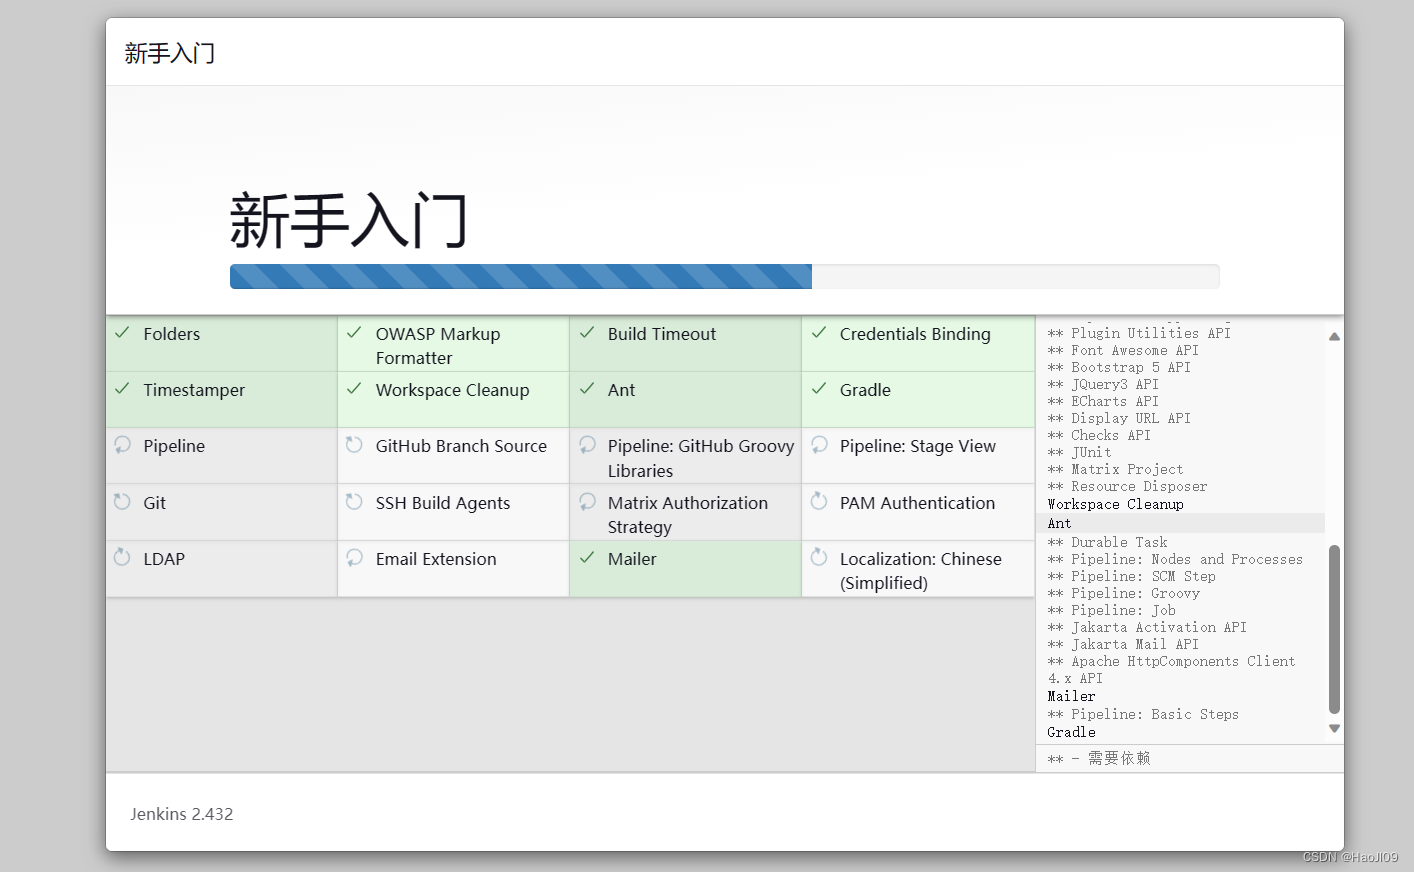
安装推荐插件
无需新建用户,直接使用admin账户

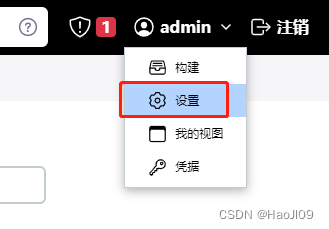
配置
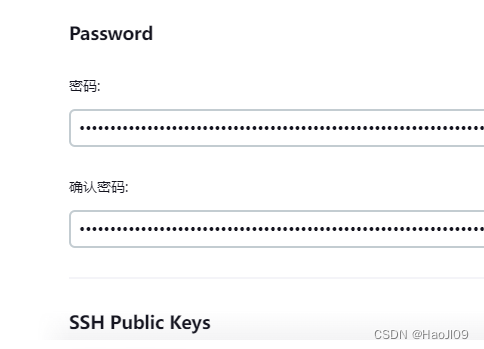
修改密码
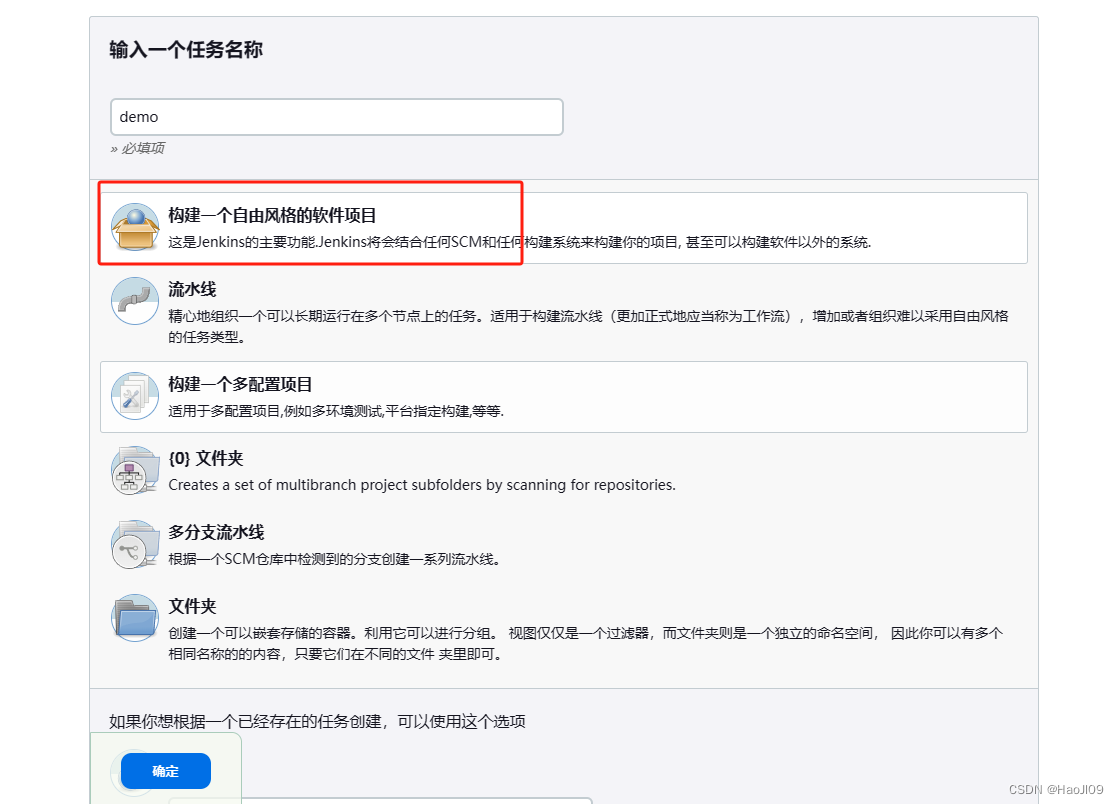
新建项目

在jenkins主机上安装git工具
[root@cicd2 ~]# yum install -y git创建密钥并上传gitlab
[root@cicd2 ~]# ssh-keygen[root@cicd2 ~]# cat .ssh/id_rsa.pub
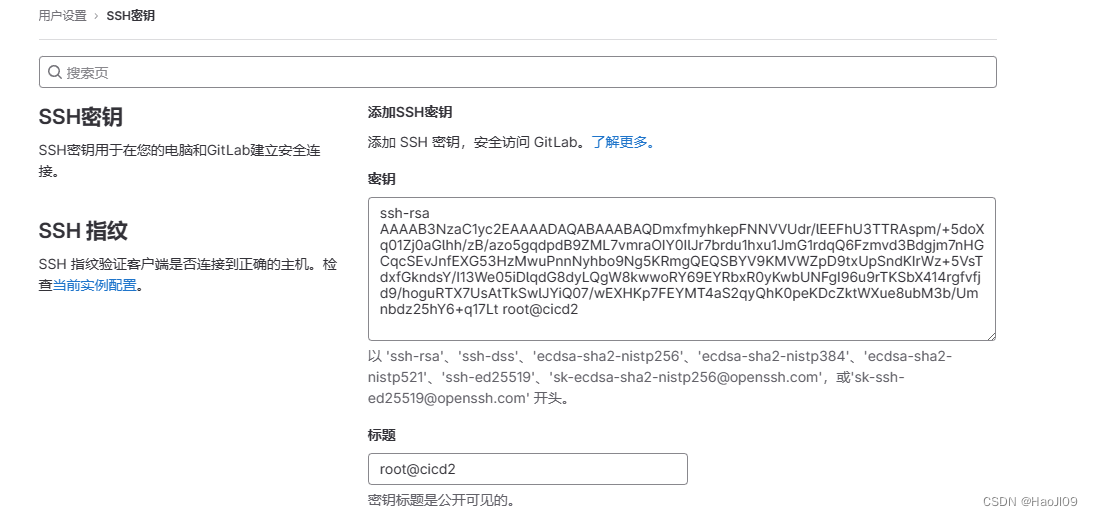
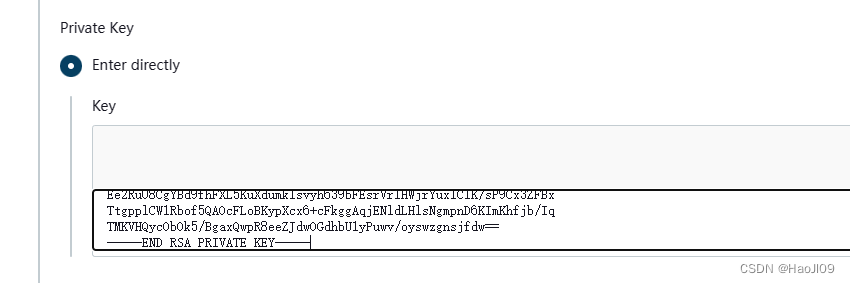
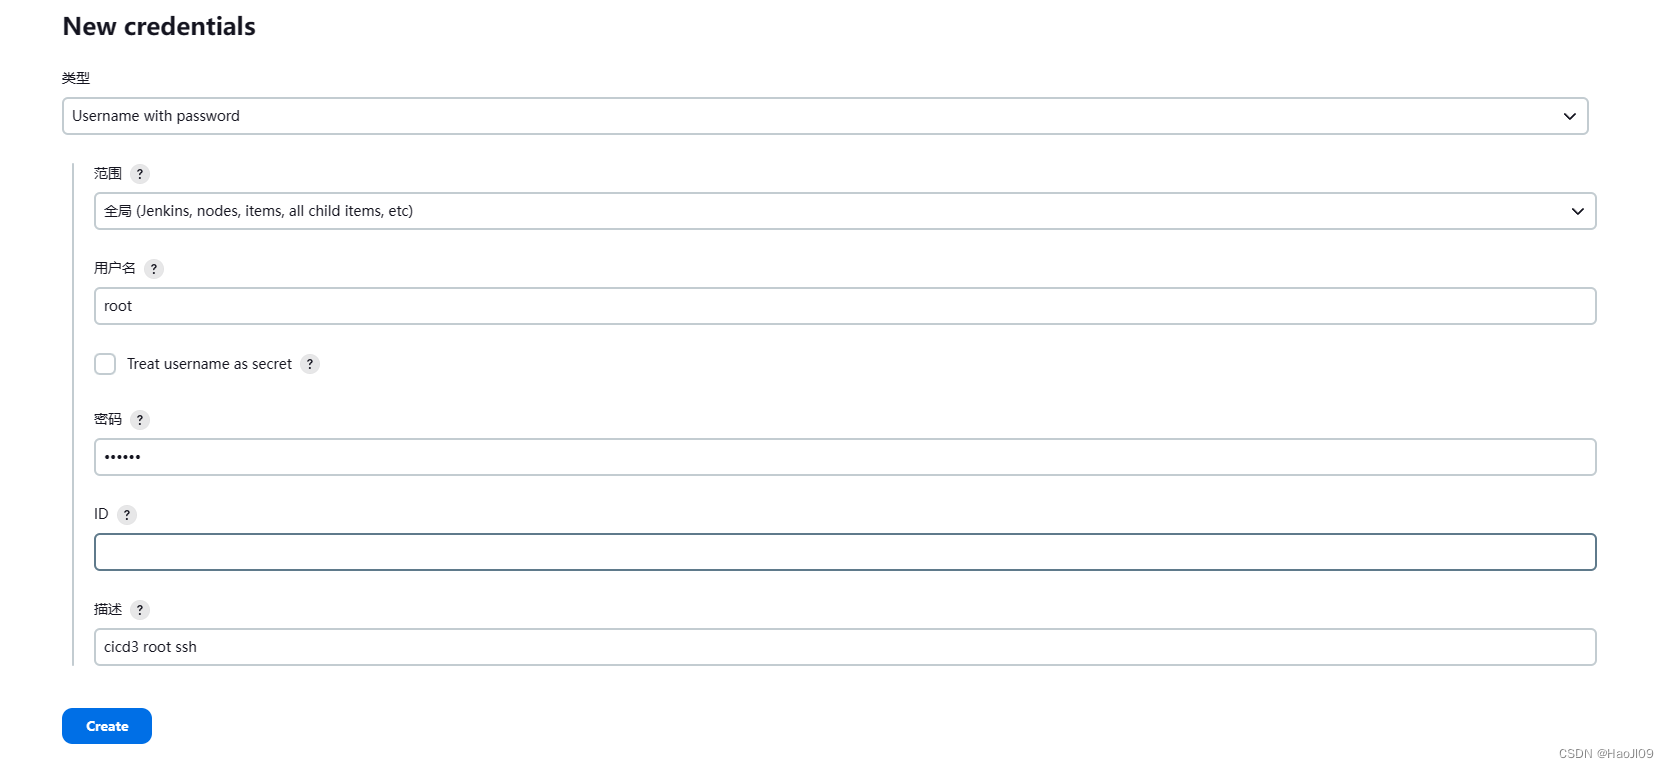
添加gitlab认证凭据
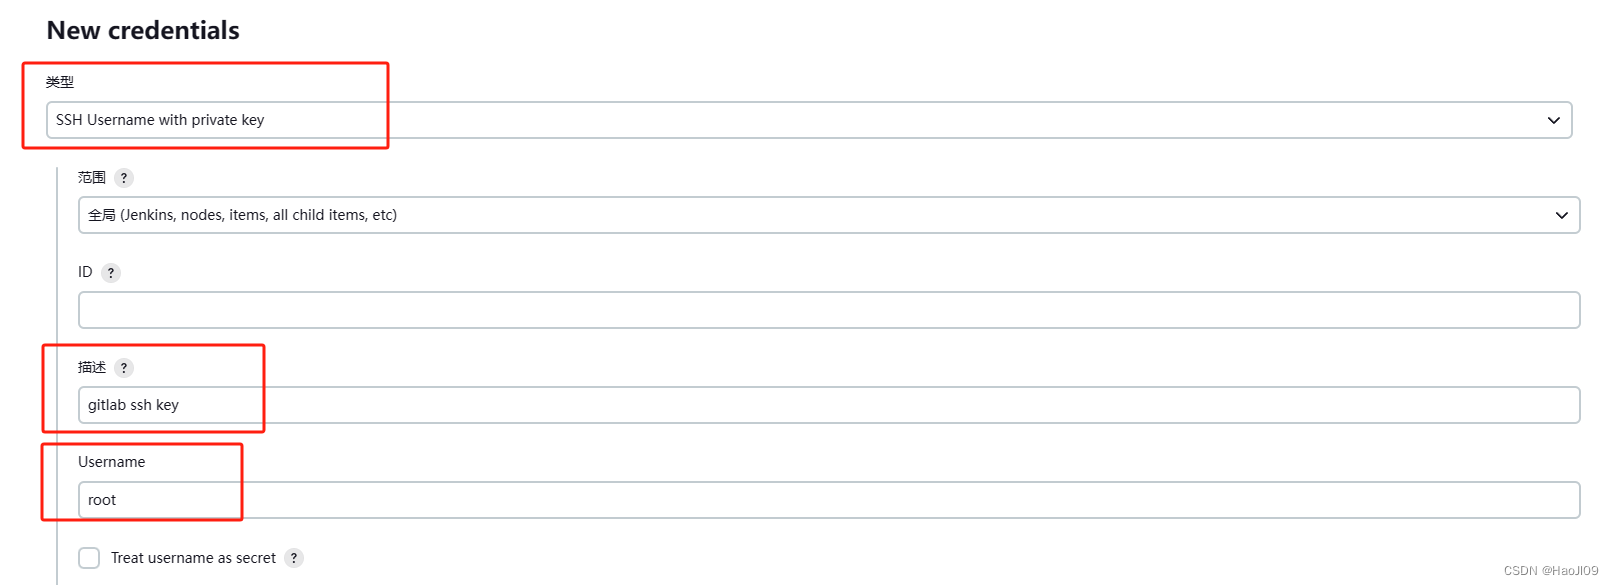
复制私钥
配置ssh
[root@cicd2 ~]# vim /etc/ssh/ssh_configStrictHostKeyChecking no
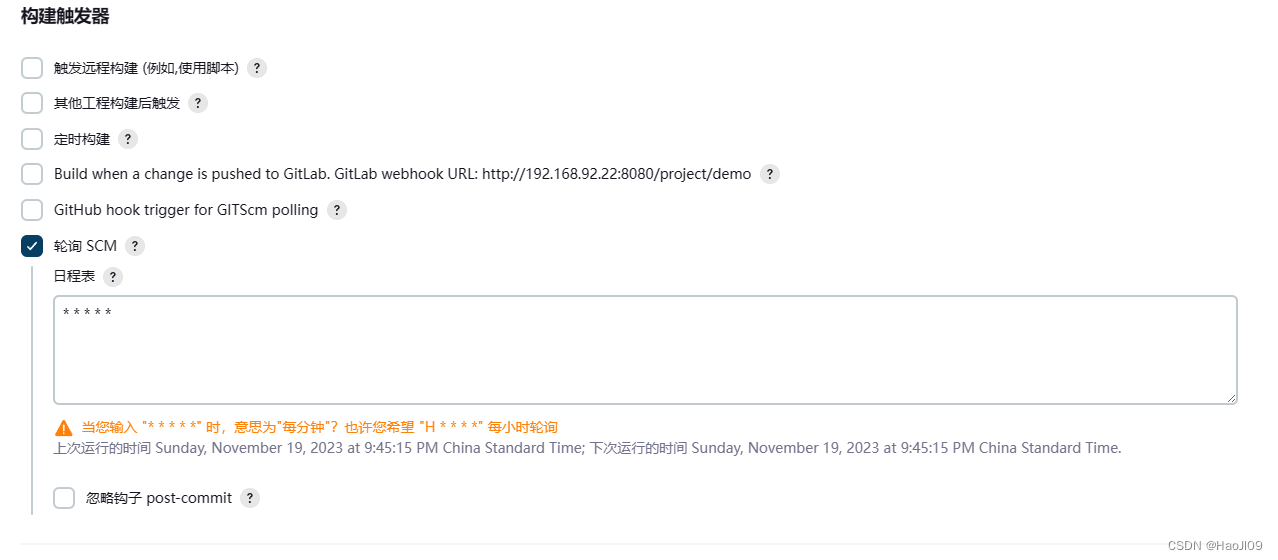
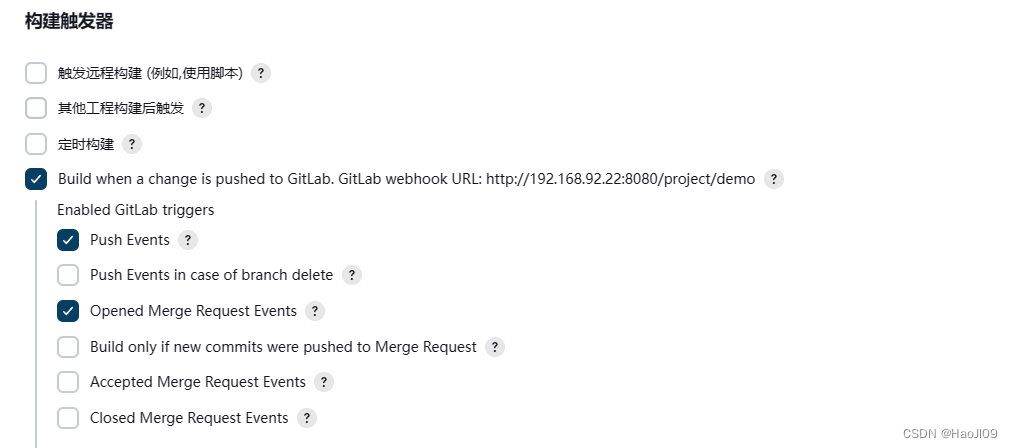
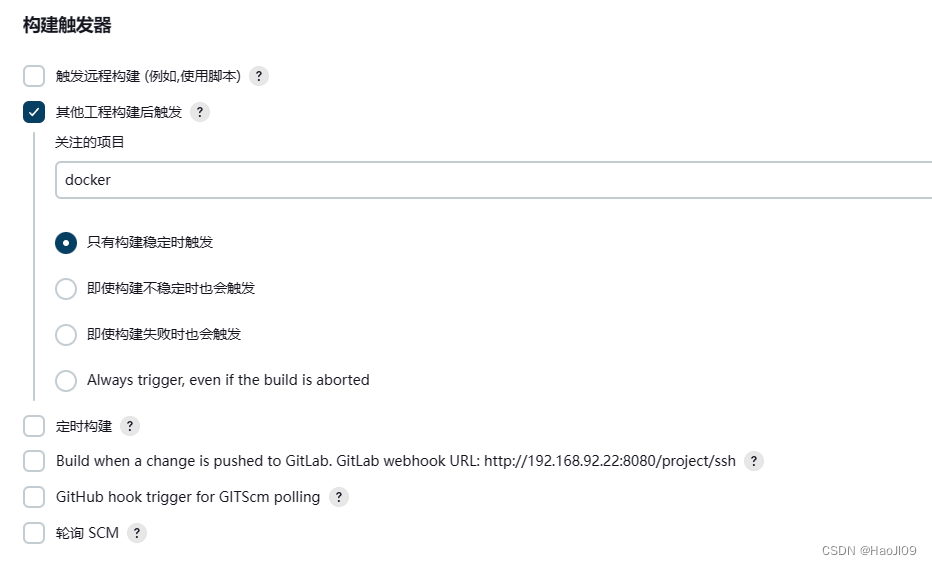
构建触发器
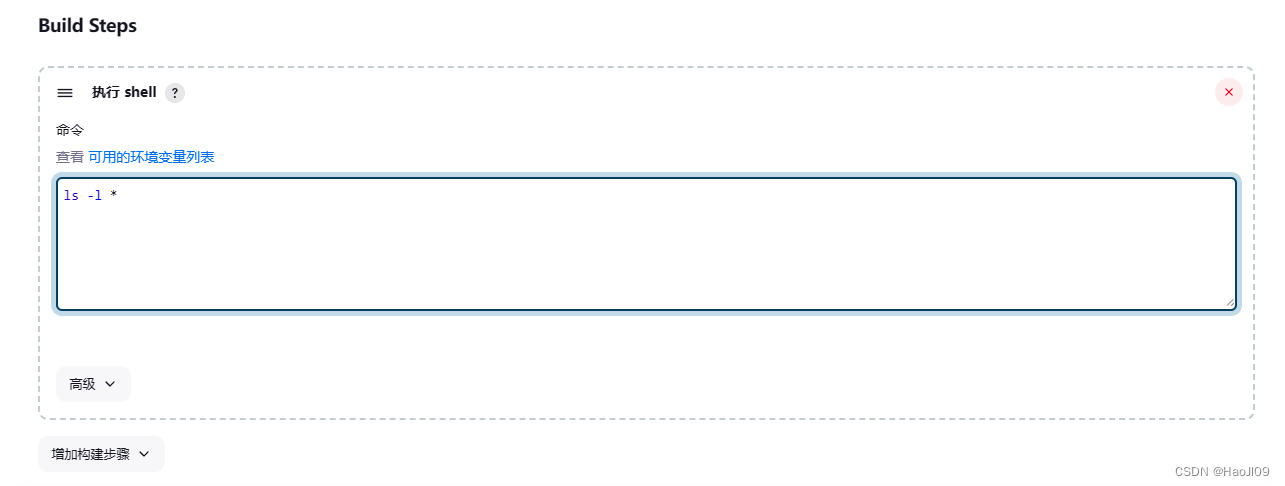
构建任务
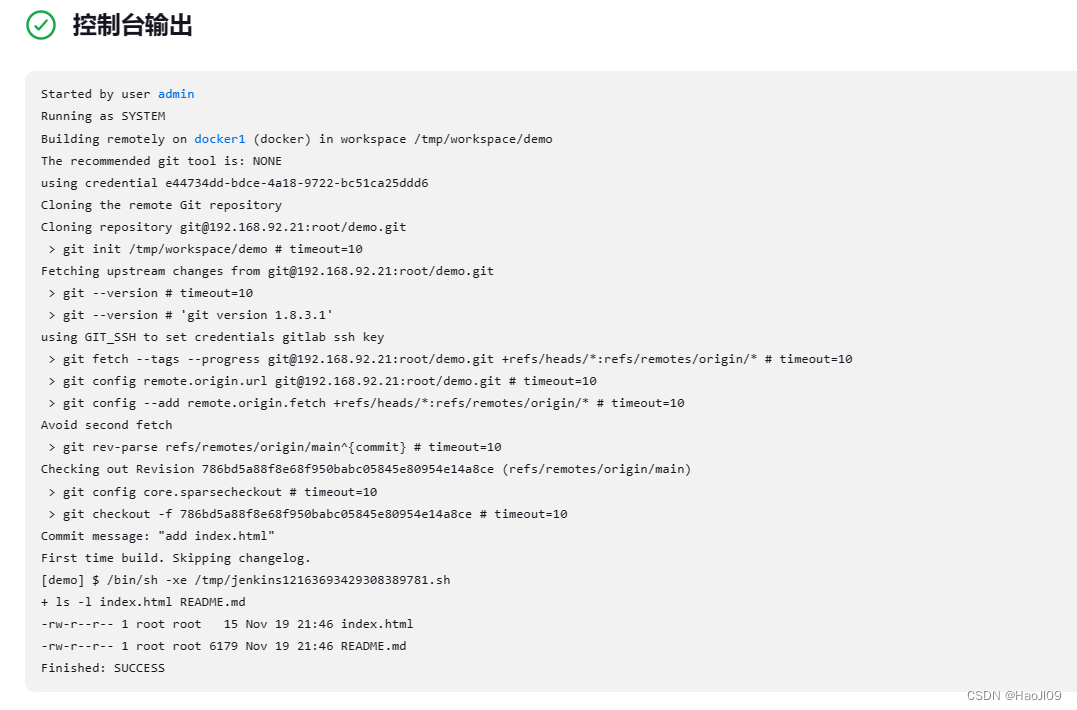
查看控制台输出
实时触发
安装gitlab插件

配置项目触发器

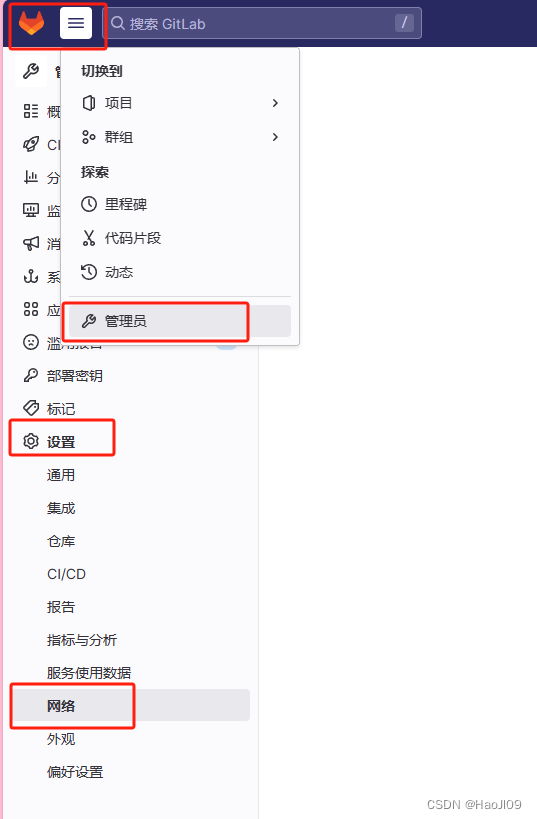
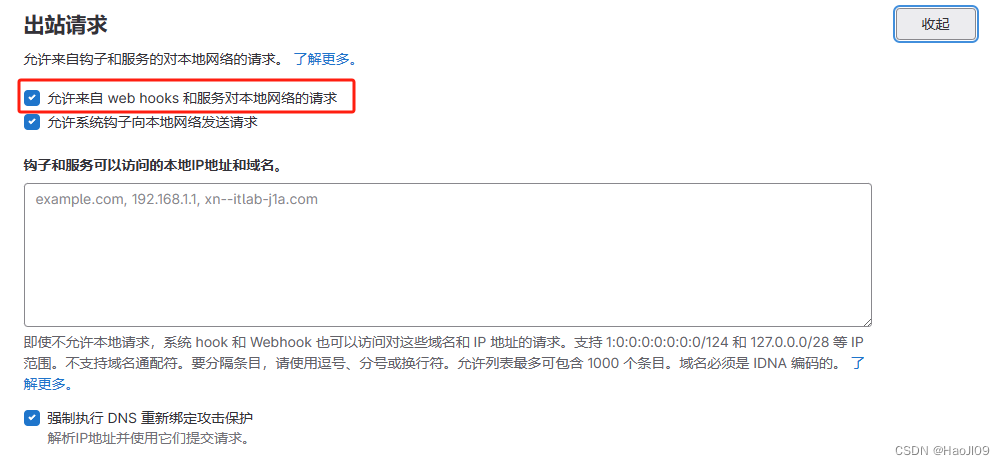
配置gitlab
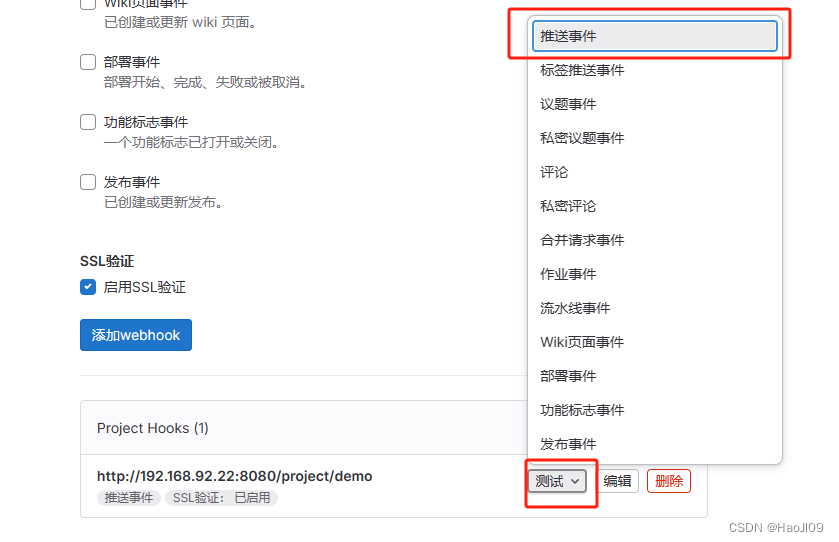
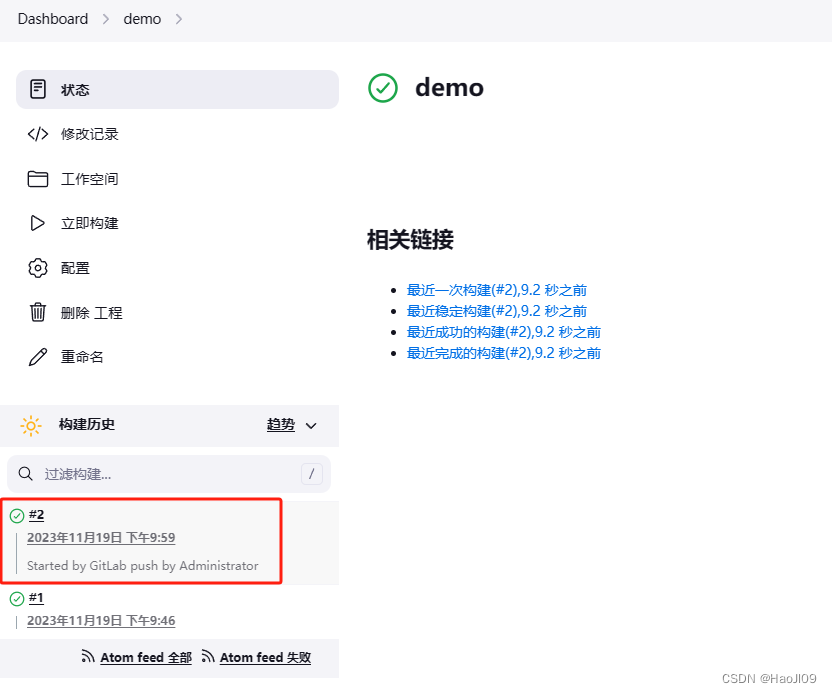
再回到demo项目下配置


测试推送
添加jenkins节点
新建虚拟机cicd3
安装jdk和git
[root@cicd3 ~]# rpm -ivh jdk-11.0.15_linux-x64_bin.rpm[root@cicd3 ~]# yum install -y git配置解析
[root@cicd3 ~]# cat /etc/hosts
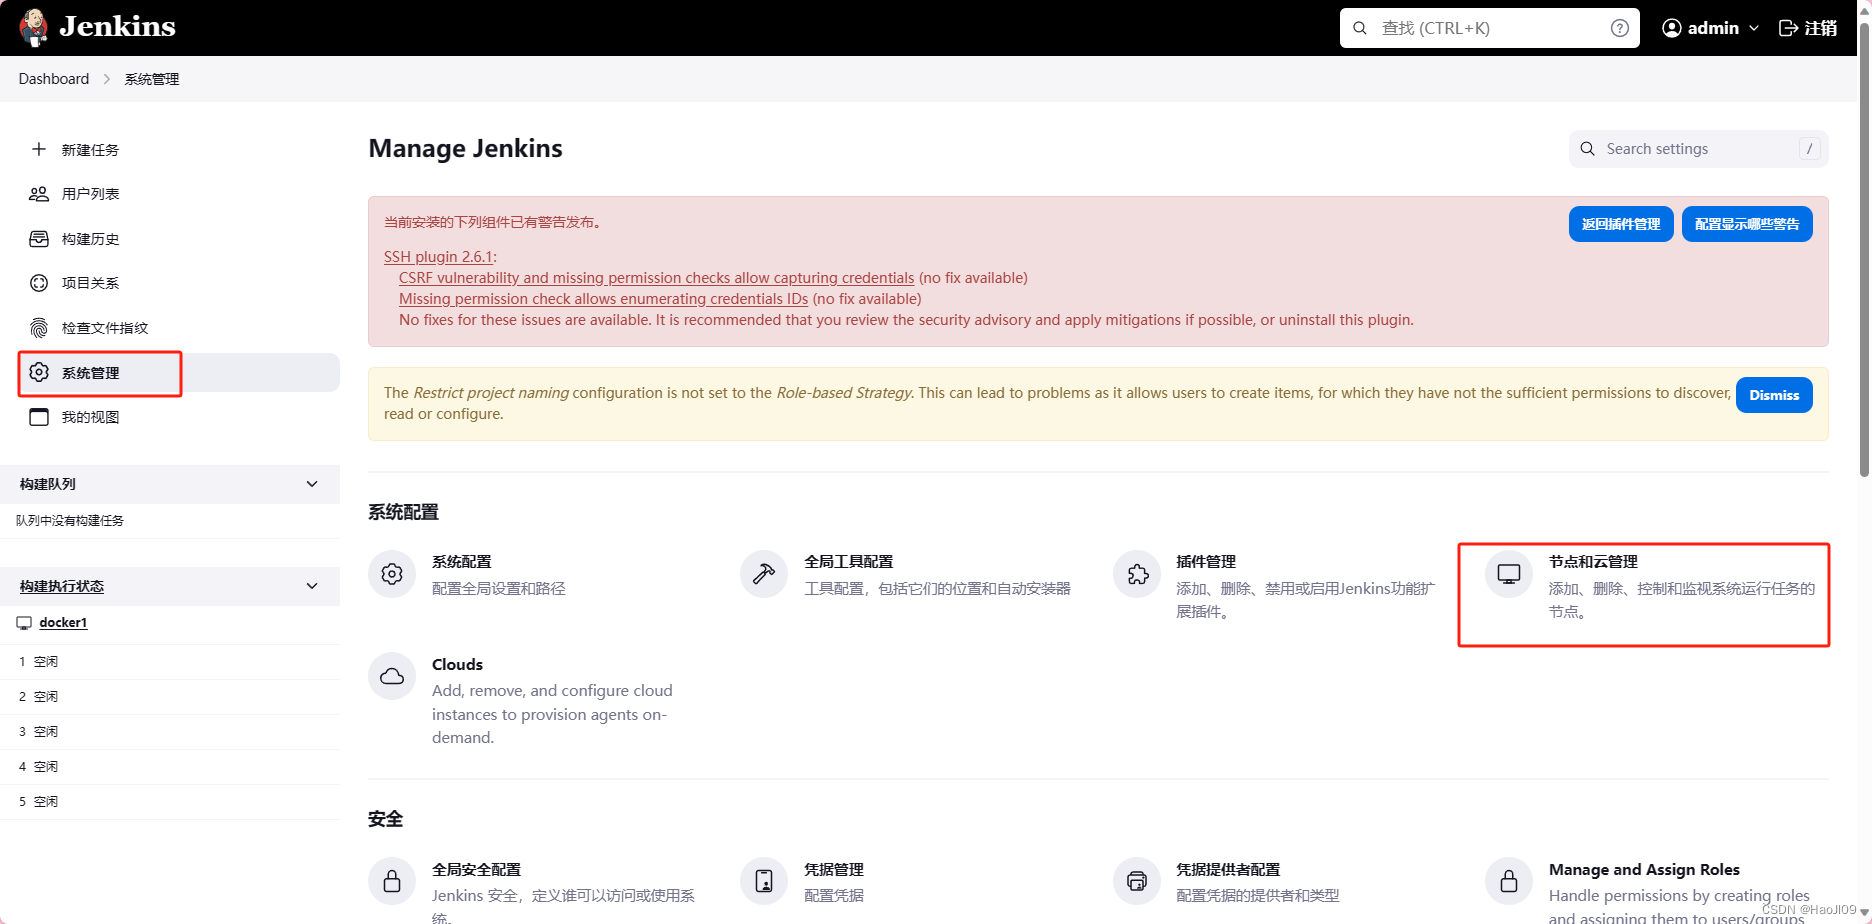
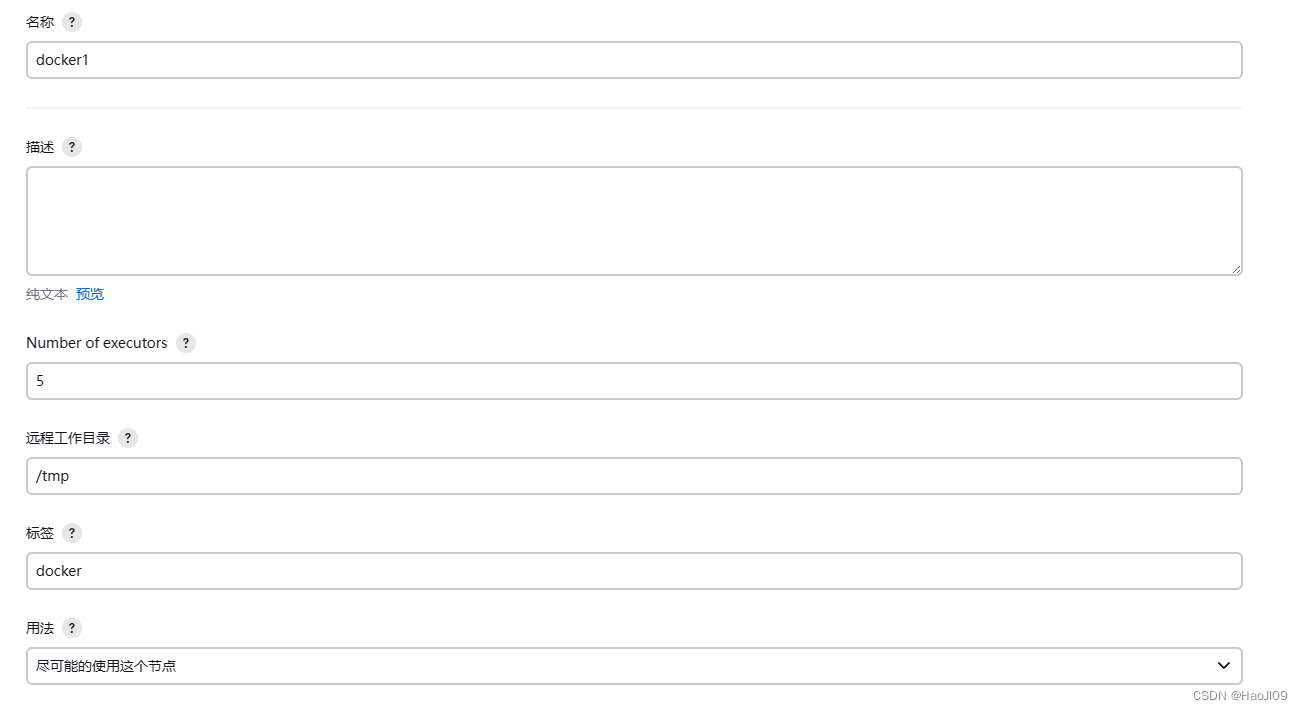
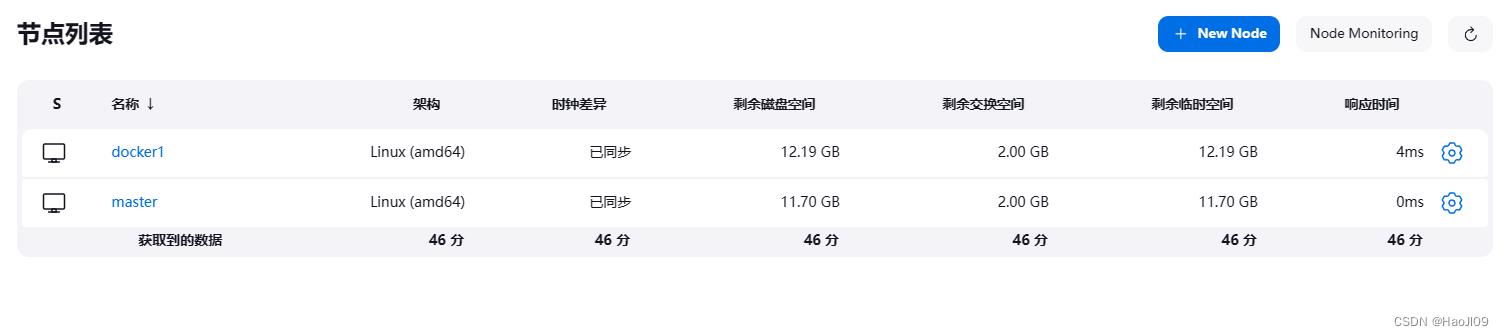
在节点管理中添加节点
配置从节点
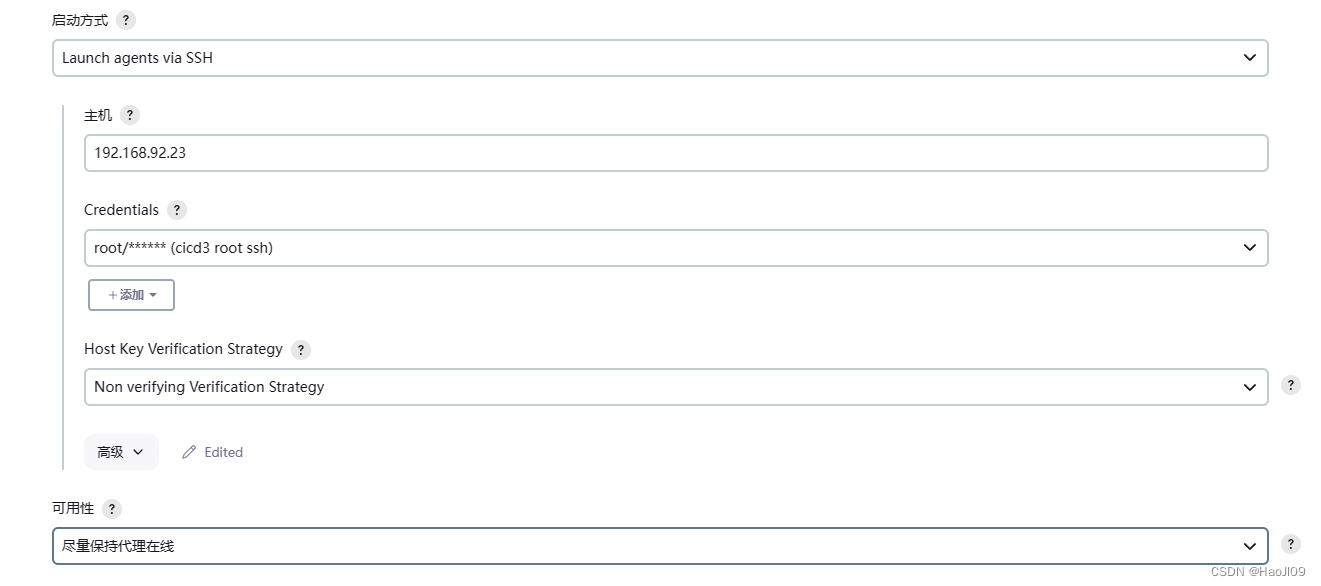
cicd3 ssh认证
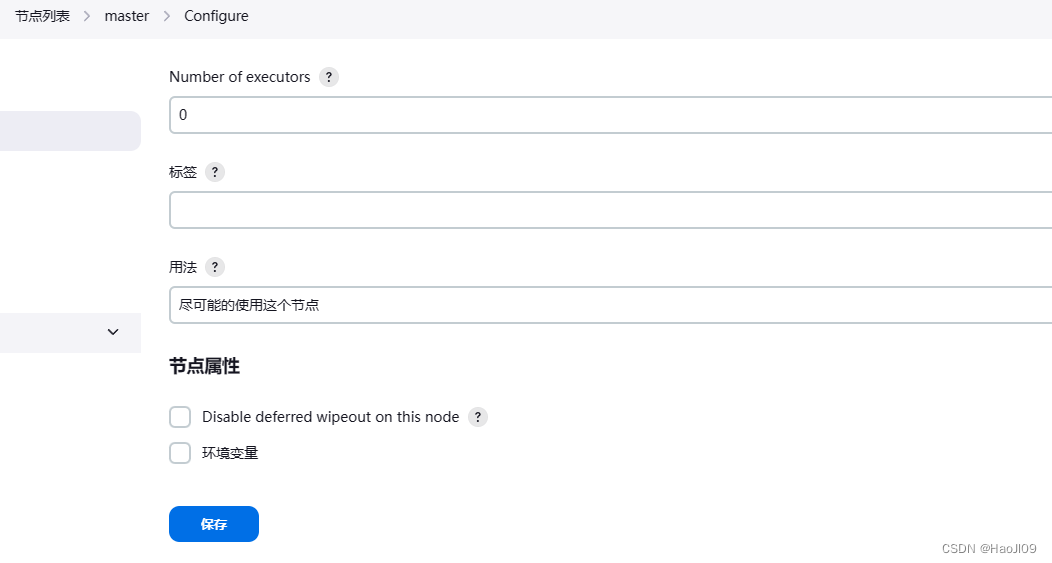
关闭master节点的构建任务数
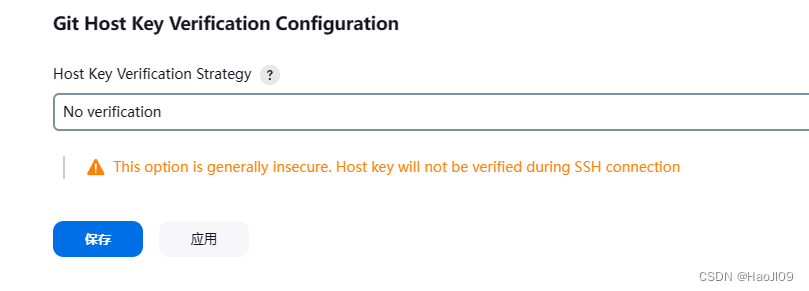
关闭git主机校验
最后测试构建,构建任务会在docker1节点上运行
自动化构建docker镜像
在cicd3上安装docker-ce
[root@cicd3 ~]# cd /etc/yum.repos.d/[root@cicd3 yum.repos.d]# cat docker.repo
[root@cicd3 yum.repos.d]# yum install -y docker-ce修改内核参数
[root@cicd3 ~]# vim /etc/sysctl.d/docker.confnet.bridge.bridge-nf-call-iptables = 1
net.bridge.bridge-nf-call-ip6tables = 1
net.ipv4.ip_forward = 1[root@cicd3 ~]# sysctl --system[root@cicd3 ~]# systemctl enable --now docker配置docker默认仓库
[root@cicd3 ~]# vim /etc/docker/daemon.json{"registry-mirrors": ["https://reg.westos.org"]
}

[root@cicd3 ~]# systemctl restart docker拷贝仓库证书
[root@k8s1 ~]# cd /etc/docker/[root@k8s1 docker]# scp -r certs.d/ 192.168.92.23:/etc/docker/[root@cicd3 ~]# ls /etc/docker/certs.d/reg.westos.org/ca.crt
测试
[root@cicd3 ~]# docker pull nginx
登录私有harbor仓库
[root@cicd3 ~]# docker login reg.westos.org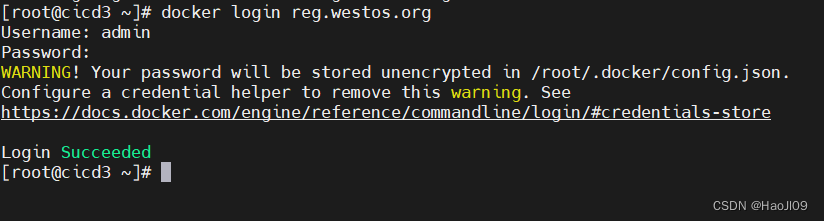
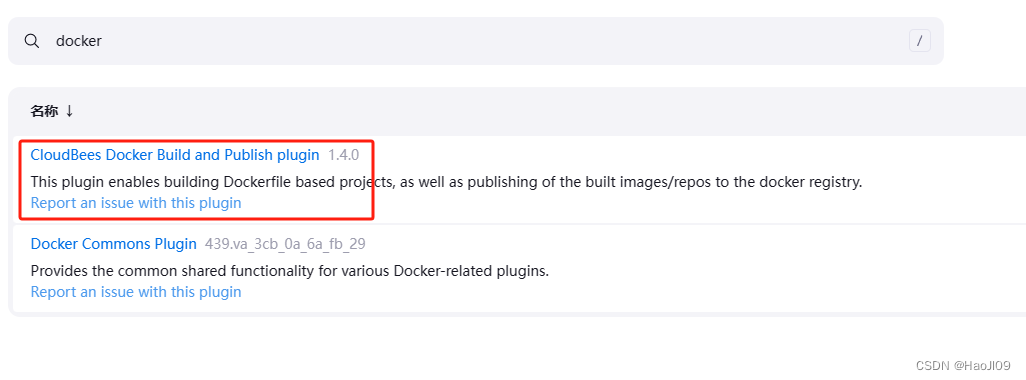
安装CloudBees Docker Build and Publish插件
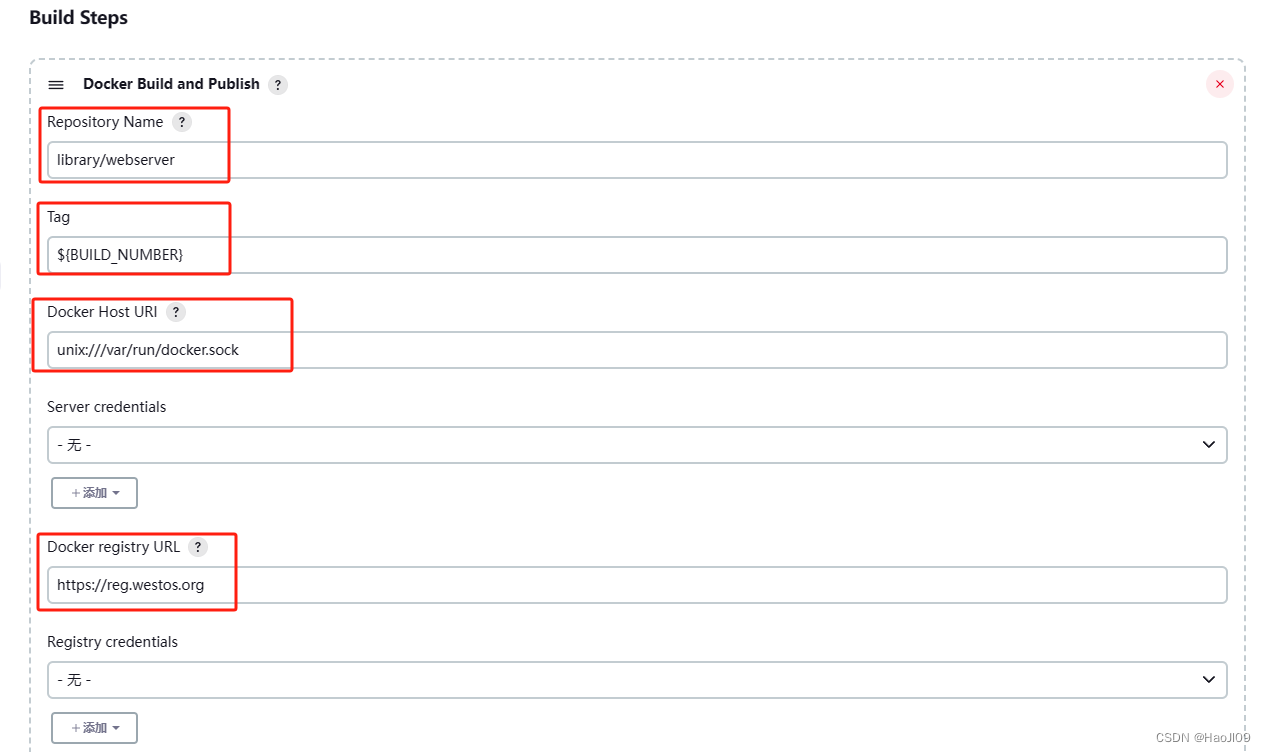
 配置项目构建
在server1上提交Dockerfile
[root@cicd1 dockerfile]# cat Dockerfile
[root@cicd1 demo]# git status -s[root@cicd1 demo]# git add Dockerfile[root@cicd1 demo]# git commit -m "add Dockerfile"[root@cicd1 demo]# git push -u origin main此时gitlab会主动触发jenkins构建任务,观察jenkins的任务输出

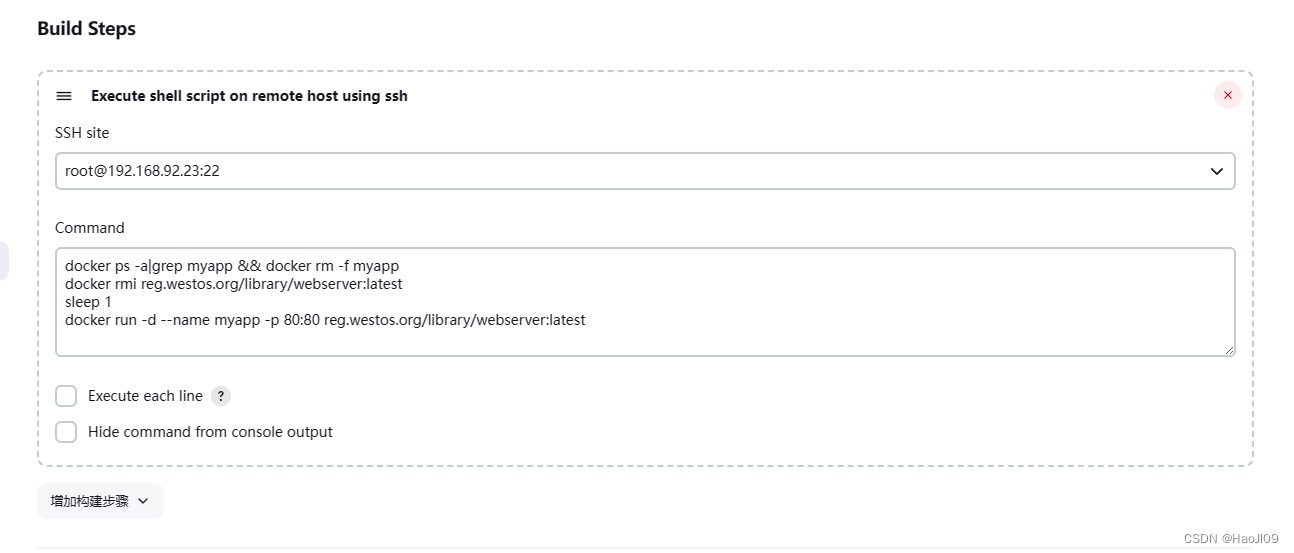
通过ssh插件交付任务
jenkins安装ssh插件

进入系统配置,添加ssh主机


新建ssh项目

当docker项目成功运行后触发ssh项目
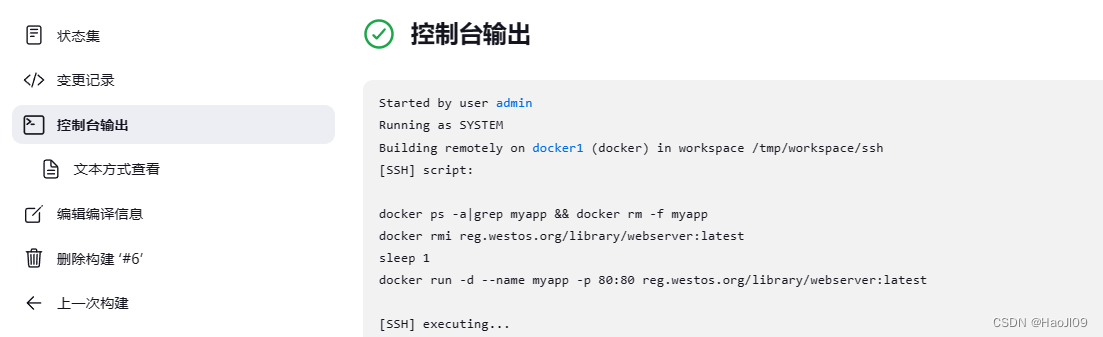
构建后查看输出
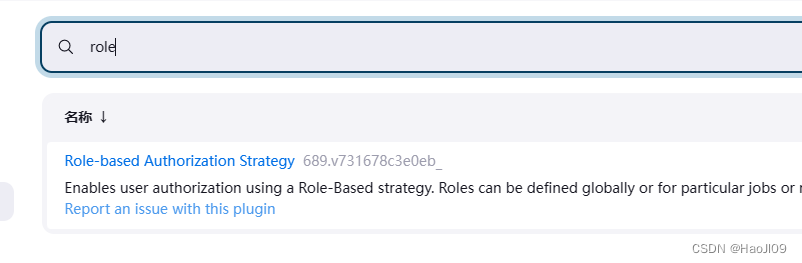
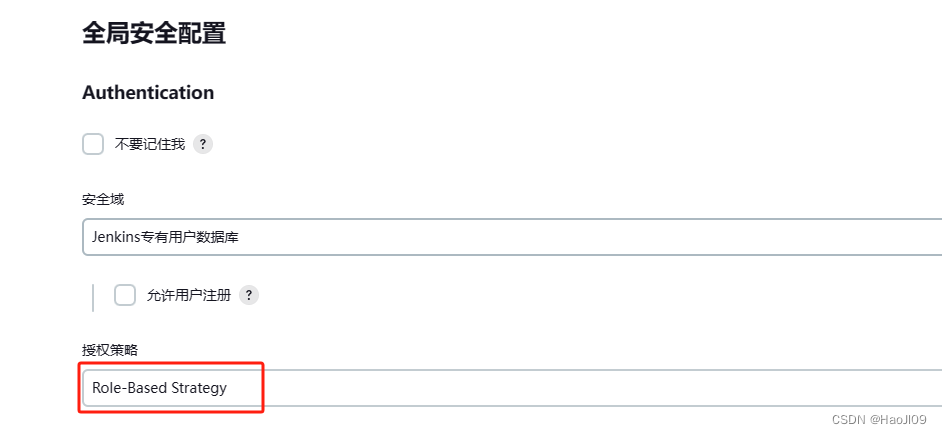
RBAC
安装插件
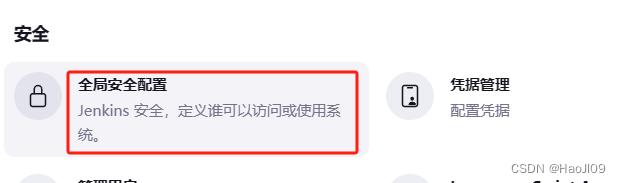
修改默认授权策略
新建测试用户

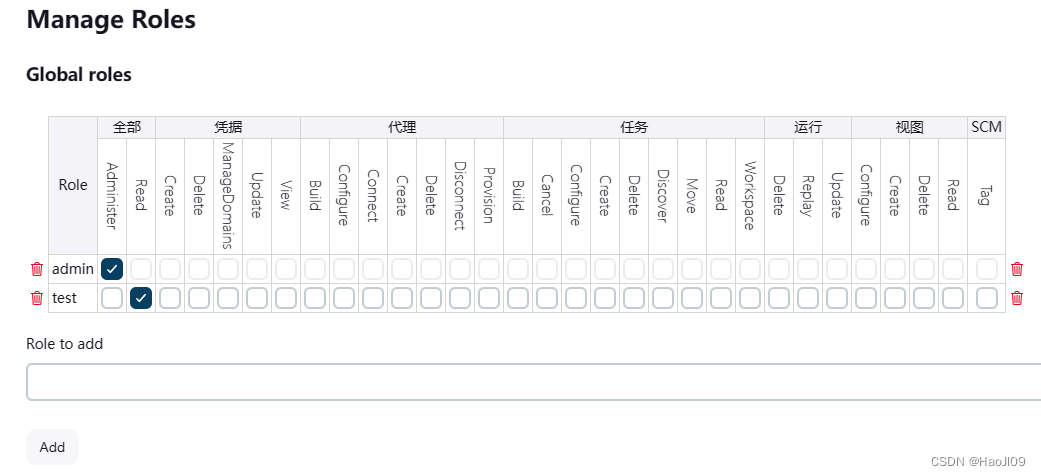
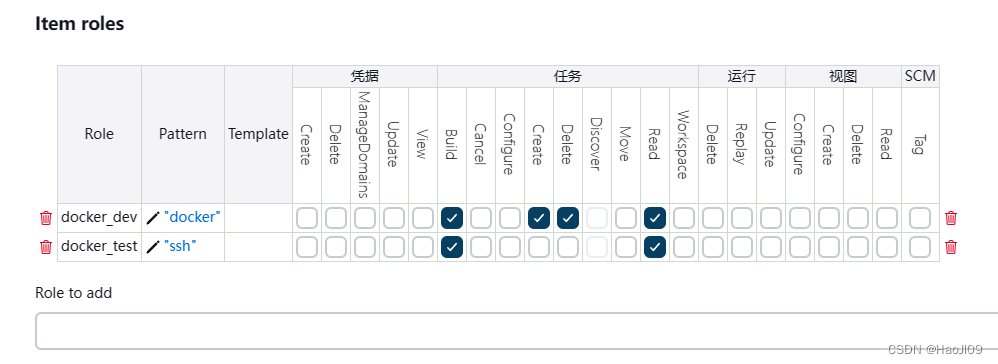
新建角色
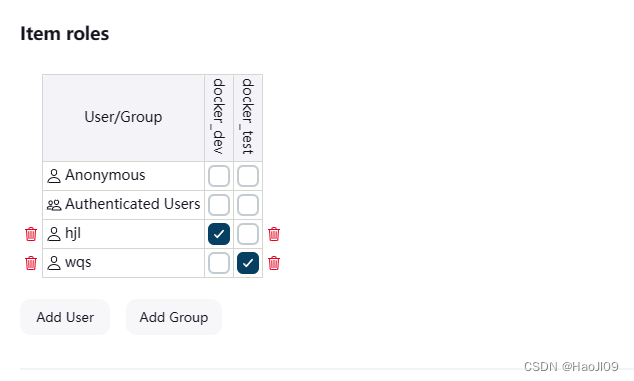
用户授权

使用不同的用户登录,测试权限是否正确
pipeline
安装ssh agent 插件

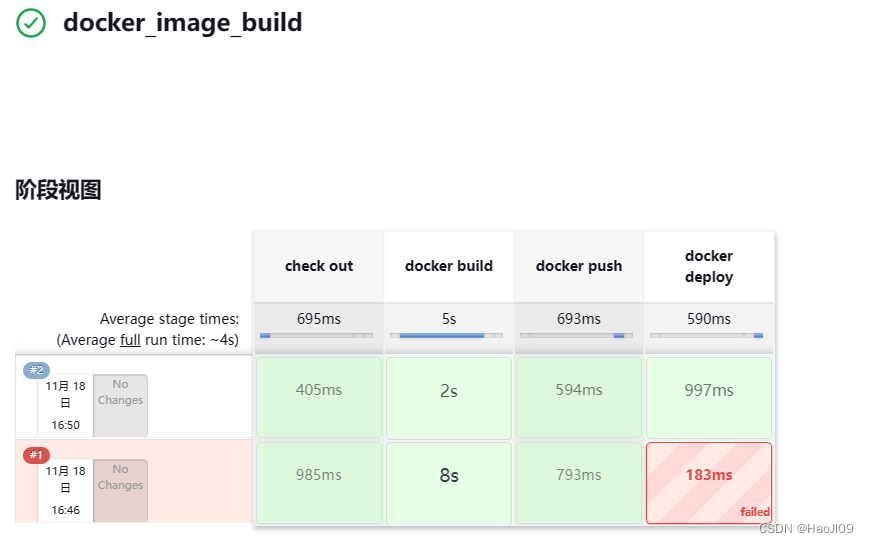
新建流水线项目 docker_image_build
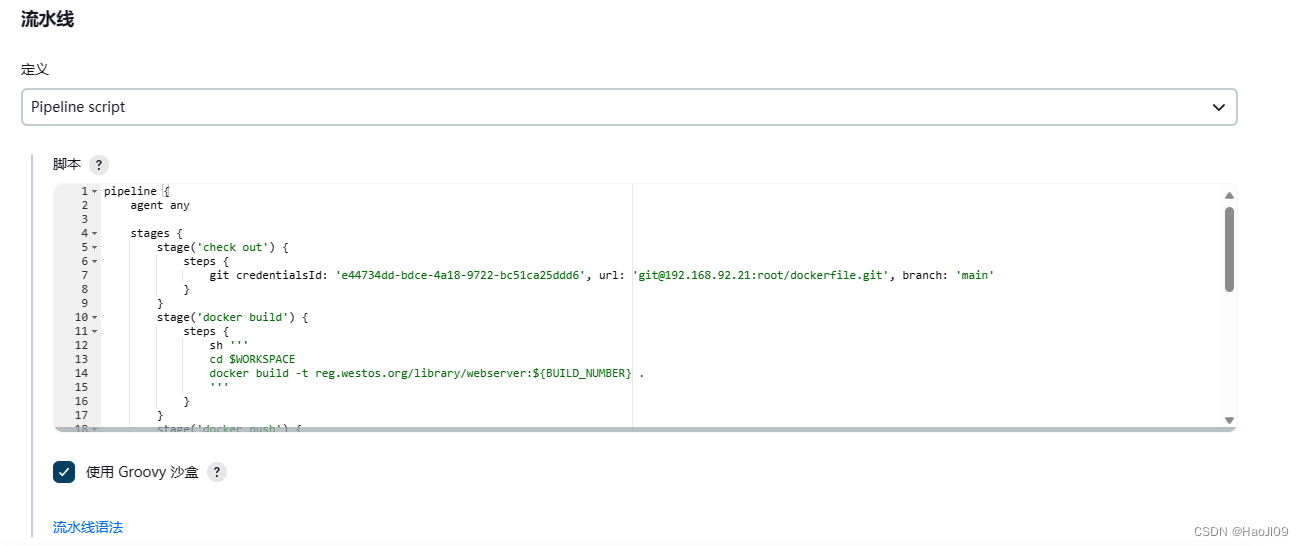
复制一下脚本并做相应修改
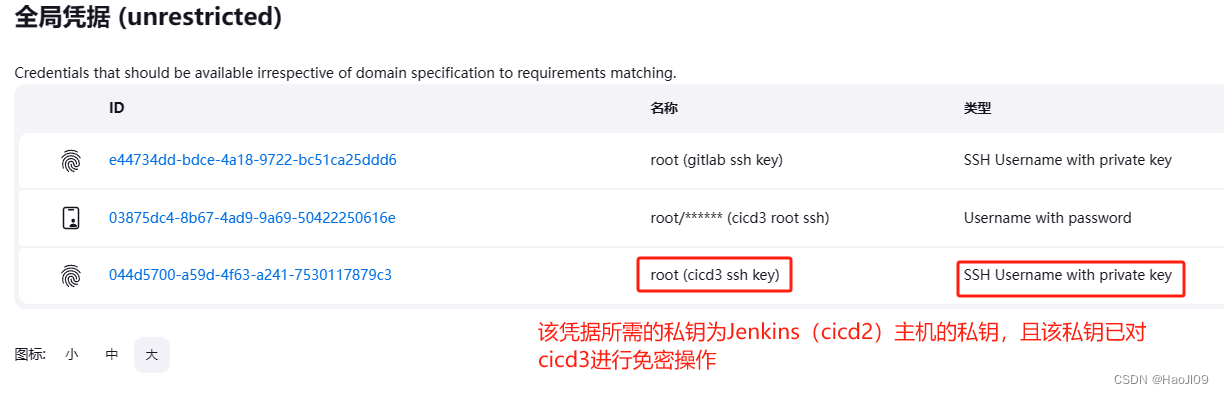
pipeline {agent anystages {stage('check out') {steps {git credentialsId: 'e44734dd-bdce-4a18-9722-bc51ca25ddd6', url: 'git@192.168.92.21:root/dockerfile.git', branch: 'main'}}stage('docker build') {steps {sh '''cd $WORKSPACEdocker build -t reg.westos.org/library/webserver:${BUILD_NUMBER} .'''}}stage('docker push') {steps {sh '''REPOSITORY=reg.westos.org/library/webserver:${BUILD_NUMBER}docker tag $REPOSITORY reg.westos.org/library/webserver:latestdocker login reg.westos.org -u admin -p westosdocker push $REPOSITORYdocker push reg.westos.org/library/webserver:latest'''}}stage('docker deploy') {steps {sshagent(credentials: ['044d5700-a59d-4f63-a241-7530117879c3']) {sh '''ssh -o StrictHostKeyChecking=no root@192.168.92.23 """docker ps -a |grep myapp && docker rm -f myappdocker rmi reg.westos.org/library/webserver:latestdocker run -d --name myapp -p 80:80 reg.westos.org/library/webserver:latest """'''}}}}
}注意:ssh需要使用ssh免密认证
jenkins结合ansible参数化构建
主机环境
主机
IP
角色
cicd2
192.168.92.22
jenkins、ansible
cicd1
192.168.92.21
测试机test、devops sudo
cicd3
192.168.92.23
测试机prod、devops sudo
安装ansible
[root@cicd2 ~]# vim /etc/yum.repos.d/ansible.repo[ansible]
name=epel
baseurl=https://mirrors.tuna.tsinghua.edu.cn/epel/7/x86_64/
gpgcheck=0[root@cicd2 ~]# yum install -y ansible
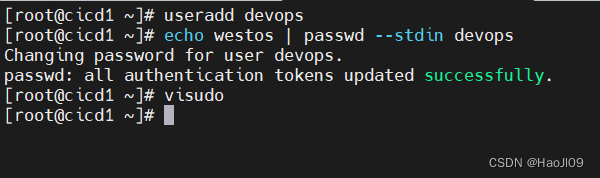
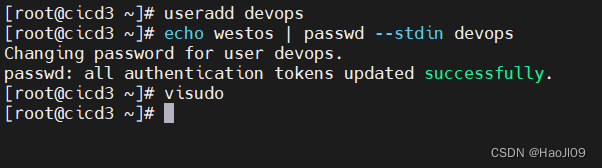
devops是测试机的ssh免密用户,并且配置sudo
[root@cicd1 ~]# useradd devops[root@cicd1 ~]# echo westos | passwd --stdin devops[root@cicd1 ~]# visudo
cicd3同上配置
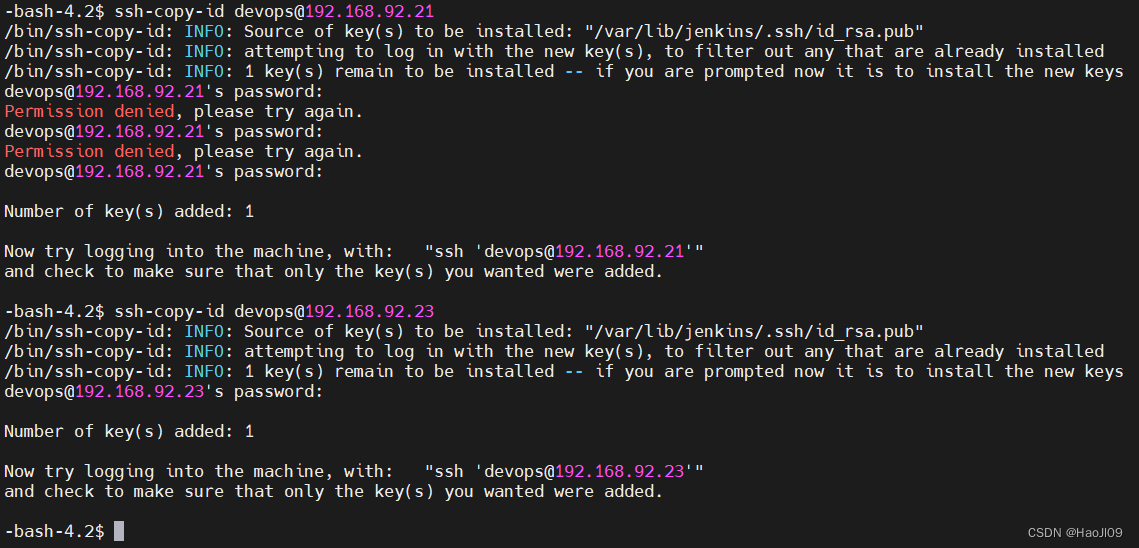
在ansible主机上以jenkins身份配置ssh免密到所有测试机
[root@cicd2 ~]# usermod -s /bin/bash jenkins[root@cicd2 ~]# su - jenkins-bash-4.2$ ssh-keygen-bash-4.2$ ssh-copy-id devops@192.168.92.21-bash-4.2$ ssh-copy-id devops@192.168.92.23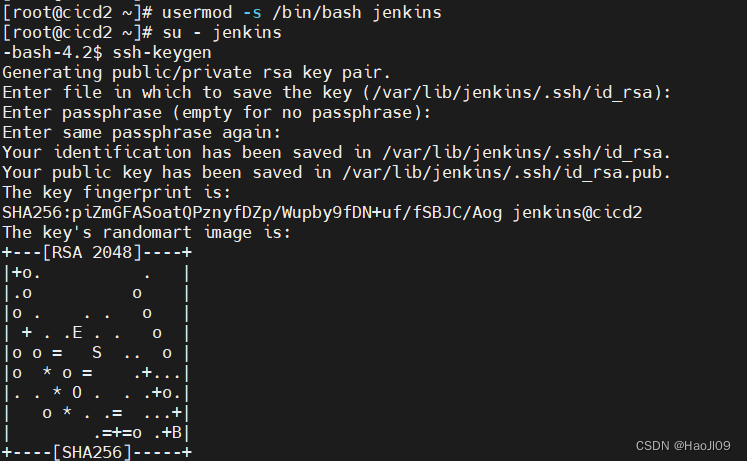
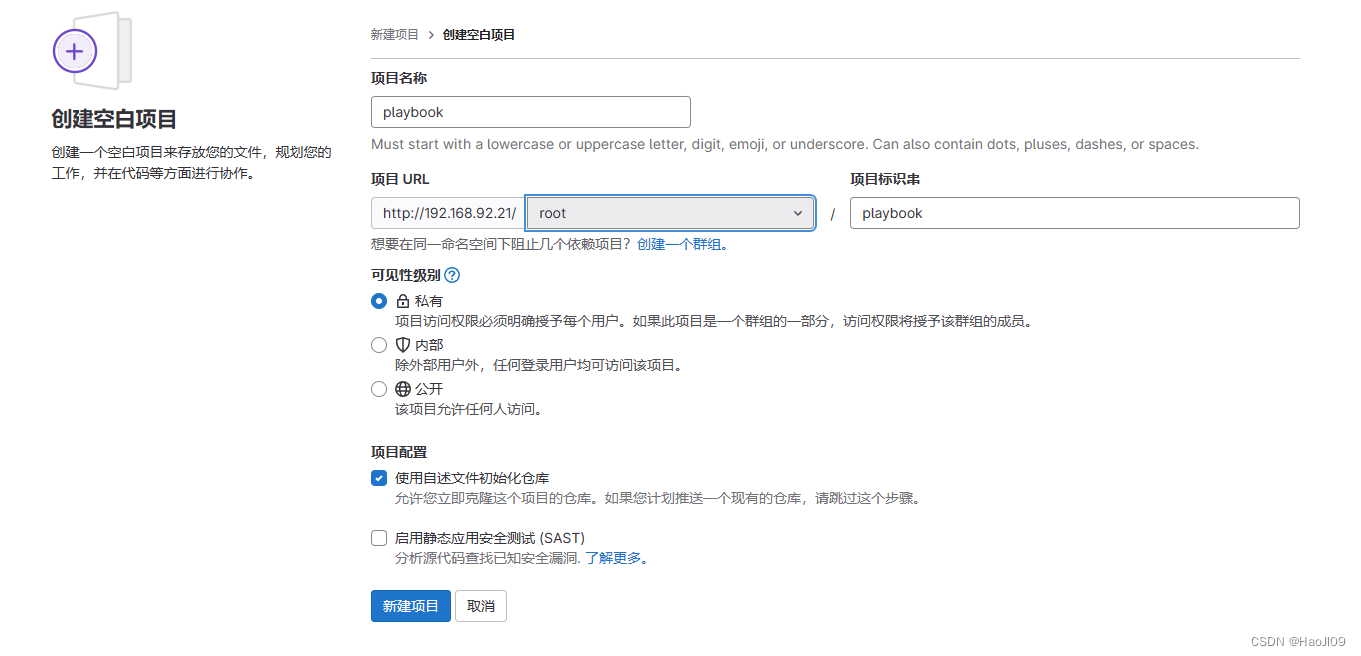
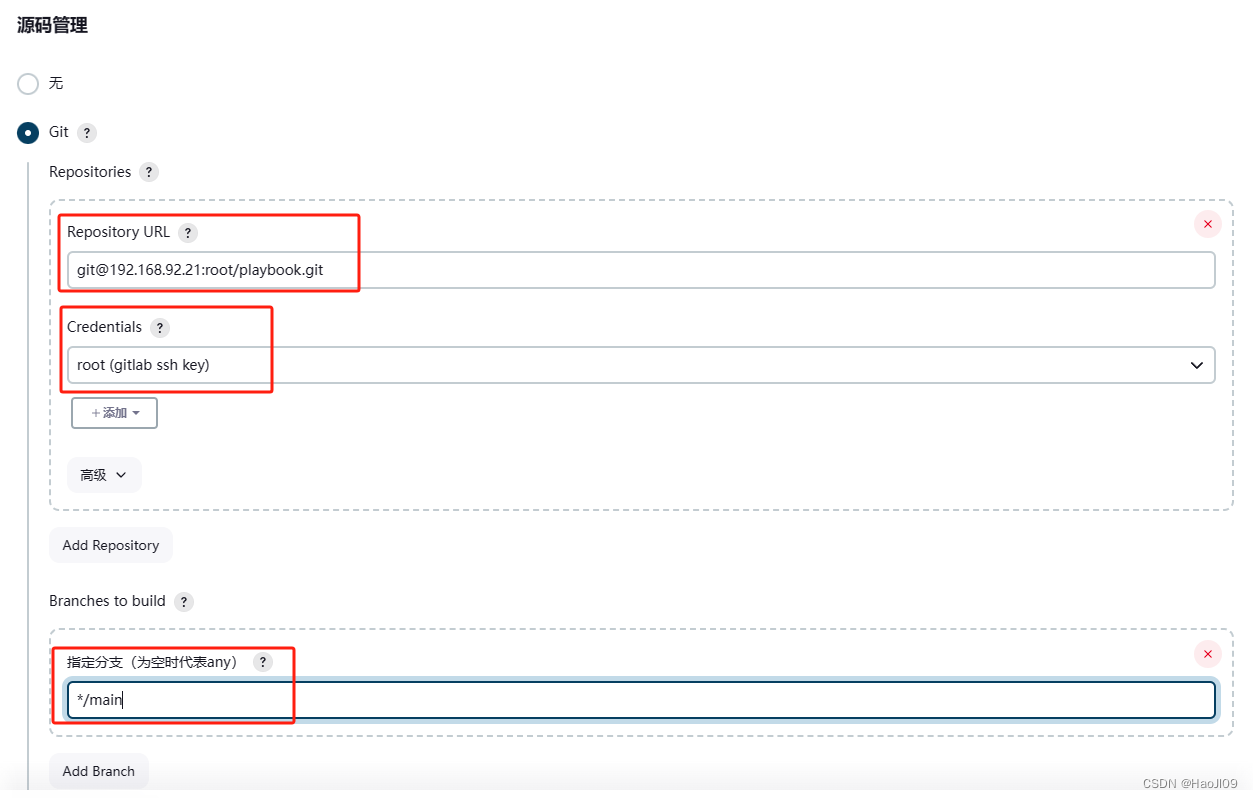
新建gitlab项目
克隆项目
[root@cicd1 ~]# git clone git@192.168.92.21:root/playbook.git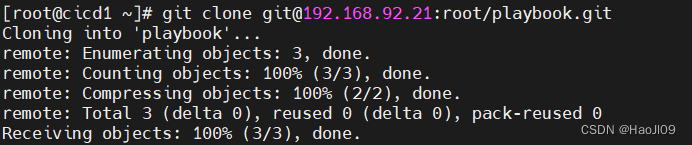
[root@cicd1 ~]# cd playbook/[root@cicd1 playbook]# vim ansible.cfg[defaults]
command_warnings=False
remote_user=devops[privilege_escalation]
become=True
become_method=sudo
become_user=root
become_ask_pass=False[root@cicd1 playbook]# mkdir inventory[root@cicd1 playbook]# cd inventory/[root@cicd1 inventory]# vim test[test]
192.168.92.21 http_port=8000[root@cicd1 inventory]# vim prod[prod]
192.168.92.23 http_port=8080[root@cicd1 inventory]# cd ..[root@cicd1 playbook]# vim playbook.yaml---
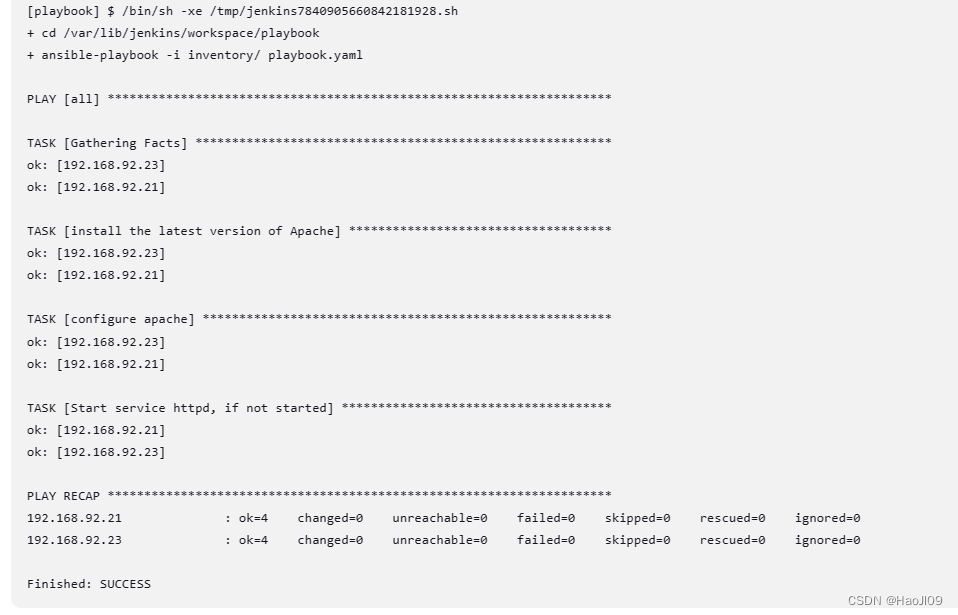
- hosts: alltasks:- name: install the latest version of Apacheyum:name: httpdstate: latest- name: configure apachetemplate:src: httpd.conf.j2dest: /etc/httpd/conf/httpd.confnotify: restart apache- name: Start service httpd, if not startedservice:name: httpdstate: startedenabled: yeshandlers:- name: restart apacheservice:name: httpdstate: restarted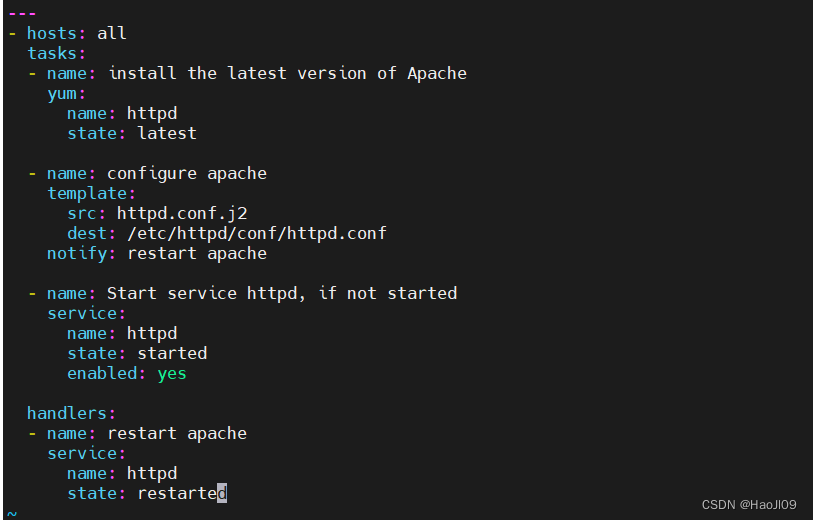
[root@cicd1 playbook]# yum install -y httpd[root@cicd1 playbook]# cp /etc/httpd/conf/httpd.conf .[root@cicd1 playbook]# mv httpd.conf httpd.conf.j2[root@cicd1 playbook]# vim httpd.conf.j2
推送项目
[root@cicd1 playbook]# git add .[root@cicd1 playbook]# git status -s[root@cicd1 playbook]# git commit -m "add playbook.yaml"[root@cicd1 playbook]# git push -u origin main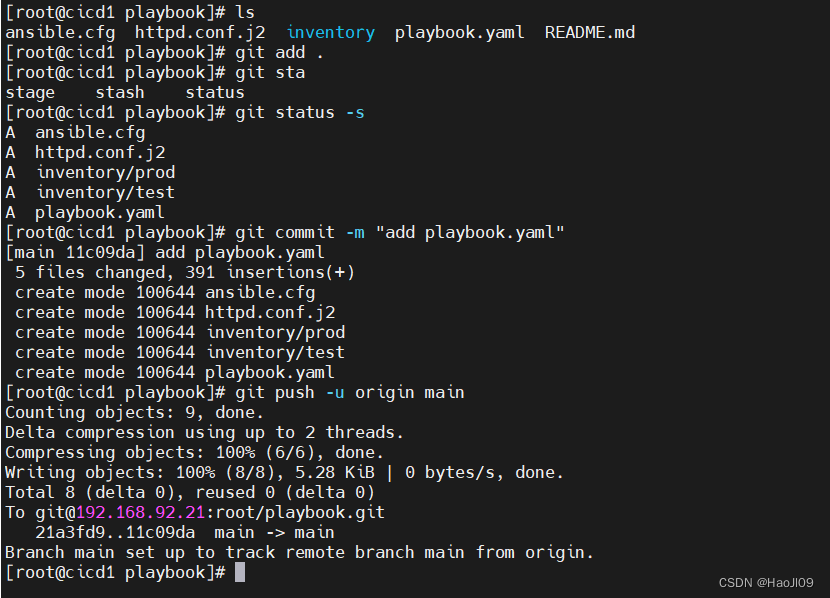
jenkins新建项目playbook
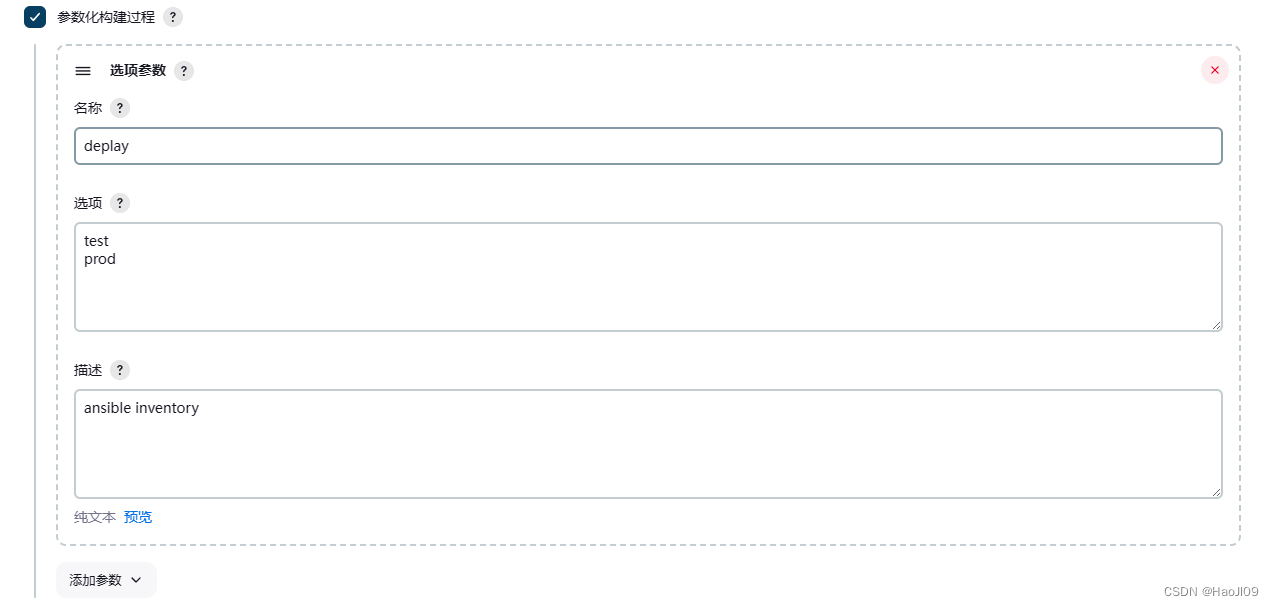
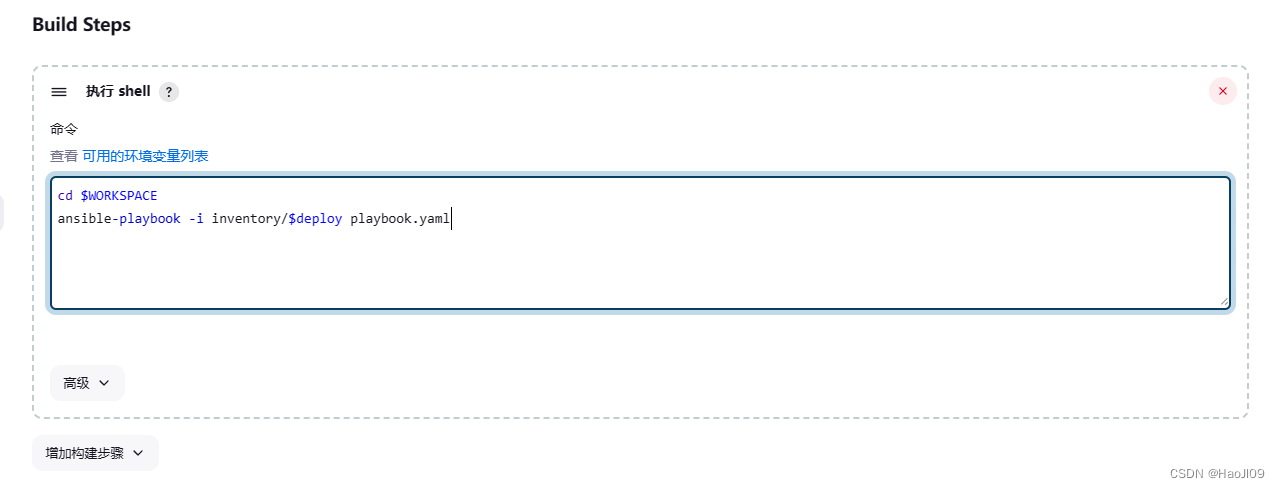
选择参数构建
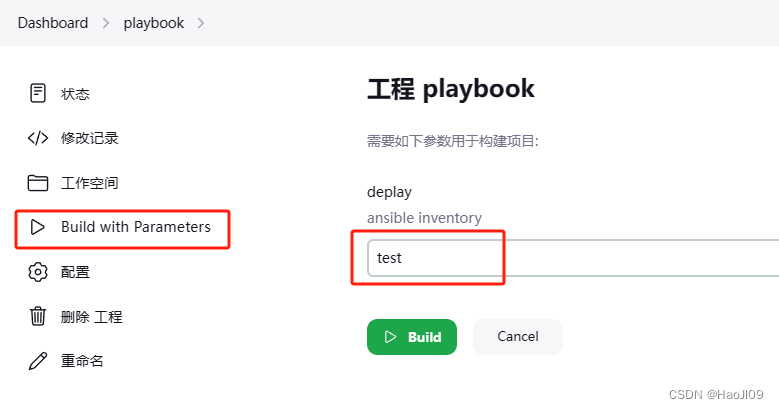
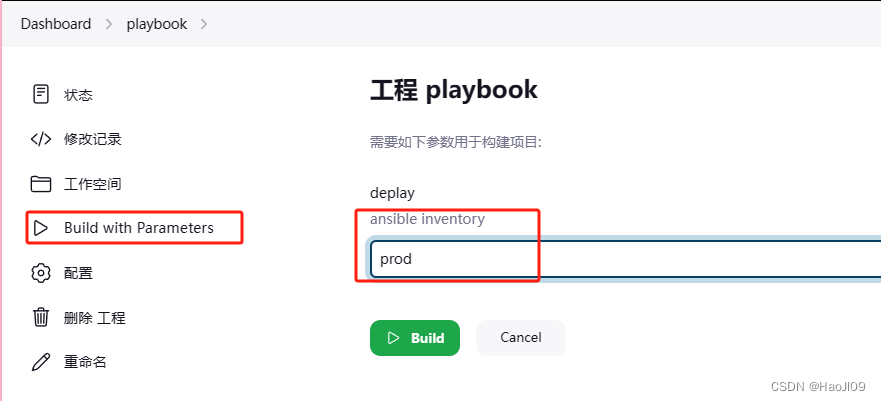
控制台输出
99%的人还看了
相似问题
- UniApp项目中 使用微信小程序原生语言 进行开发
- 在PyCharm中正确设置Python项目
- 基于springboot实现班级综合测评管理系统项目【项目源码+论文说明】
- 合肥中科深谷嵌入式项目实战——基于ARM语音识别的智能家居系统(三)
- 基于Springboot的美容院管理系统(有报告)。Javaee项目,springboot项目。
- 前后端分离项目跨域请求的问题与解决办法
- 普乐蛙VR航天航空巡展项目来到了第七站——绵阳科博会
- 计算机毕业设计选题推荐-家庭理财微信小程序/安卓APP-项目实战
- Springboot和Vue+MYSQL项目(基本介绍+前后端结合初步项目)+maven+mybatis
- ssm+vue的药店药品信息管理系统(有报告)。Javaee项目,ssm vue前后端分离项目。
猜你感兴趣
版权申明
本文"CICD 持续集成与持续交付——jenkins":http://eshow365.cn/6-40472-0.html 内容来自互联网,请自行判断内容的正确性。如有侵权请联系我们,立即删除!
- 上一篇: redis运维(八)数据类型(一)字符串
- 下一篇: 下载node-sass