已解决
springboot整合sentinel完成限流
来自网友在路上 154854提问 提问时间:2023-09-21 22:04:09阅读次数: 54
最佳答案 问答题库548位专家为你答疑解惑
1、直入正题,下载sentinel的jar包
1.1 直接到Sentinel官网里的releases下即可下载最新版本,Sentinel官方下载地址,直接下载jar包即可。不过慢,可能下载不下来
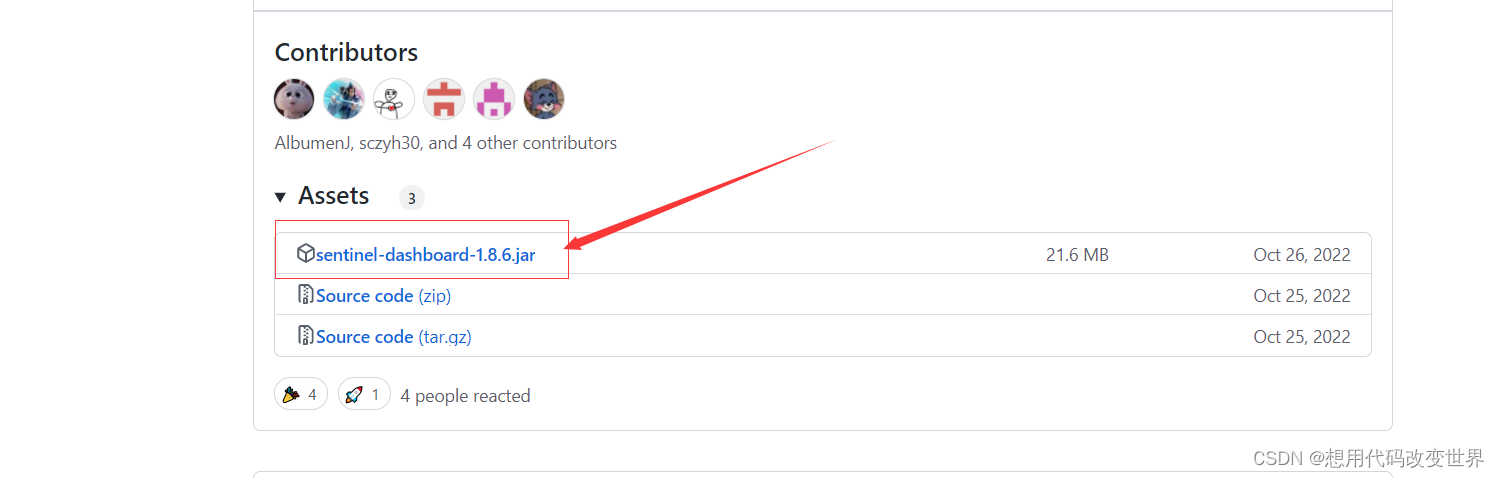
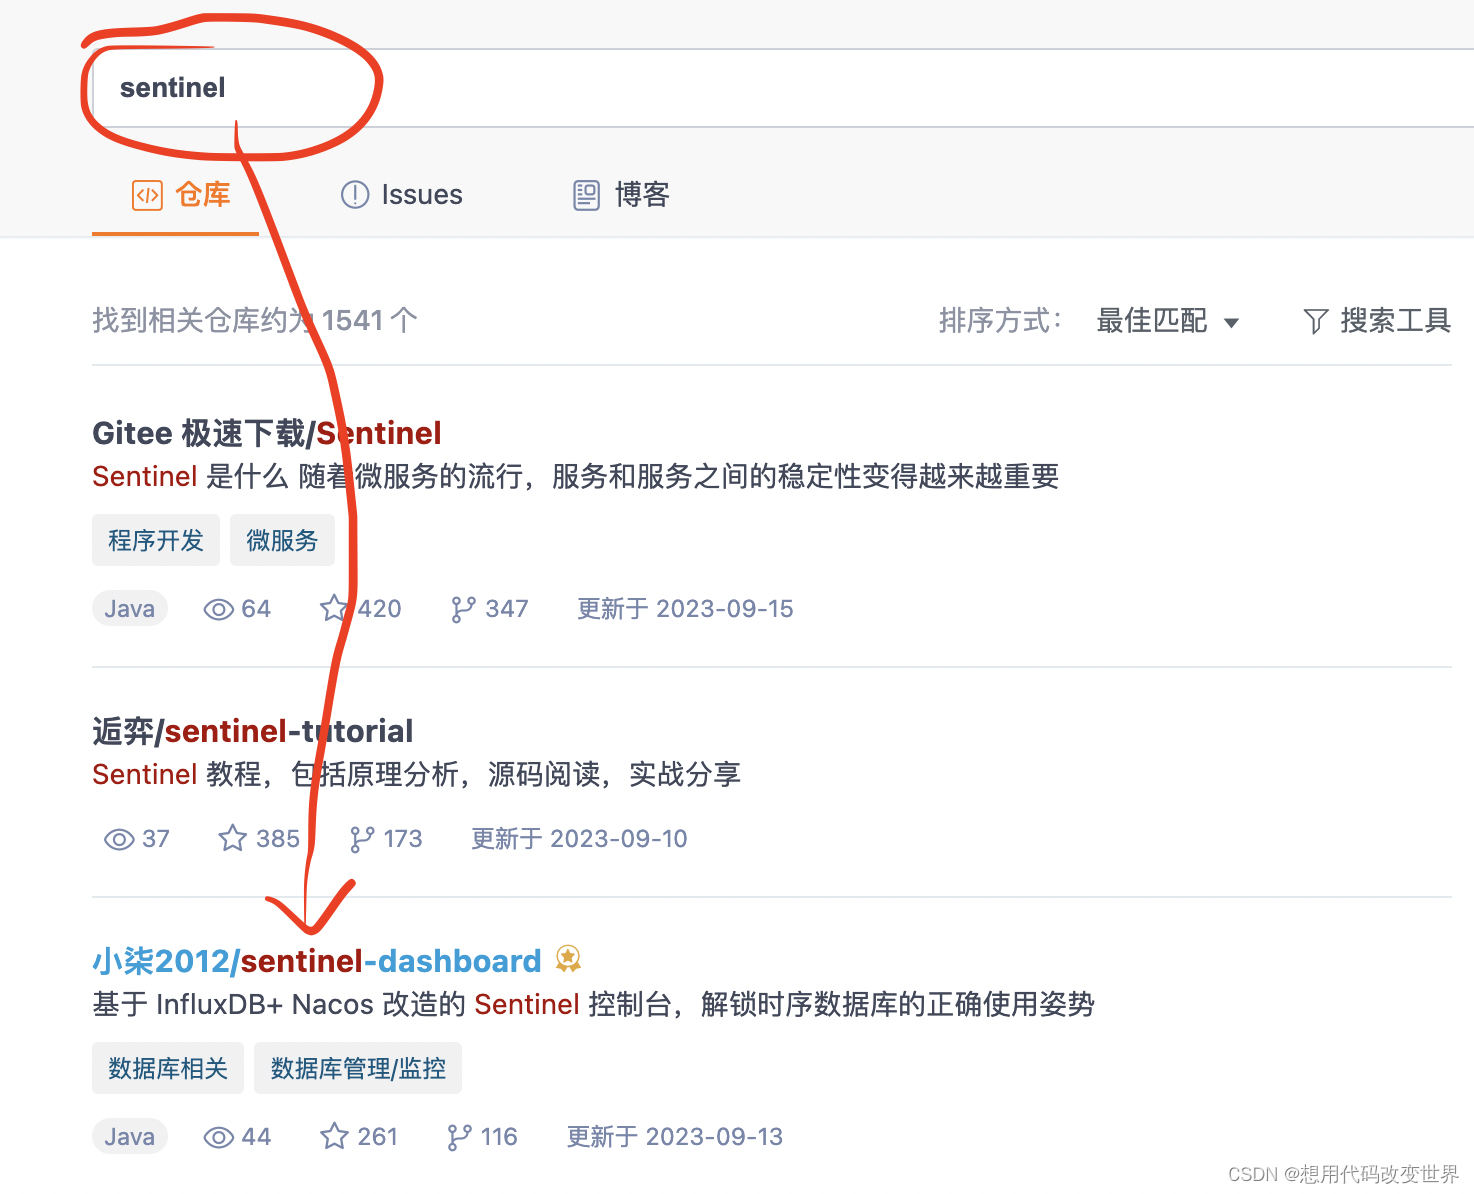
1.2 可以去gitee去下载jar包
1.3 下载完成后,进行打包,
1.4 执行命令
打开命令行窗口,进入到项目里面,执行:
mvn clean package -DskipTests
2、打包完成后,直接启动
java -jar sentinel-dashboard.jar
3、启动成功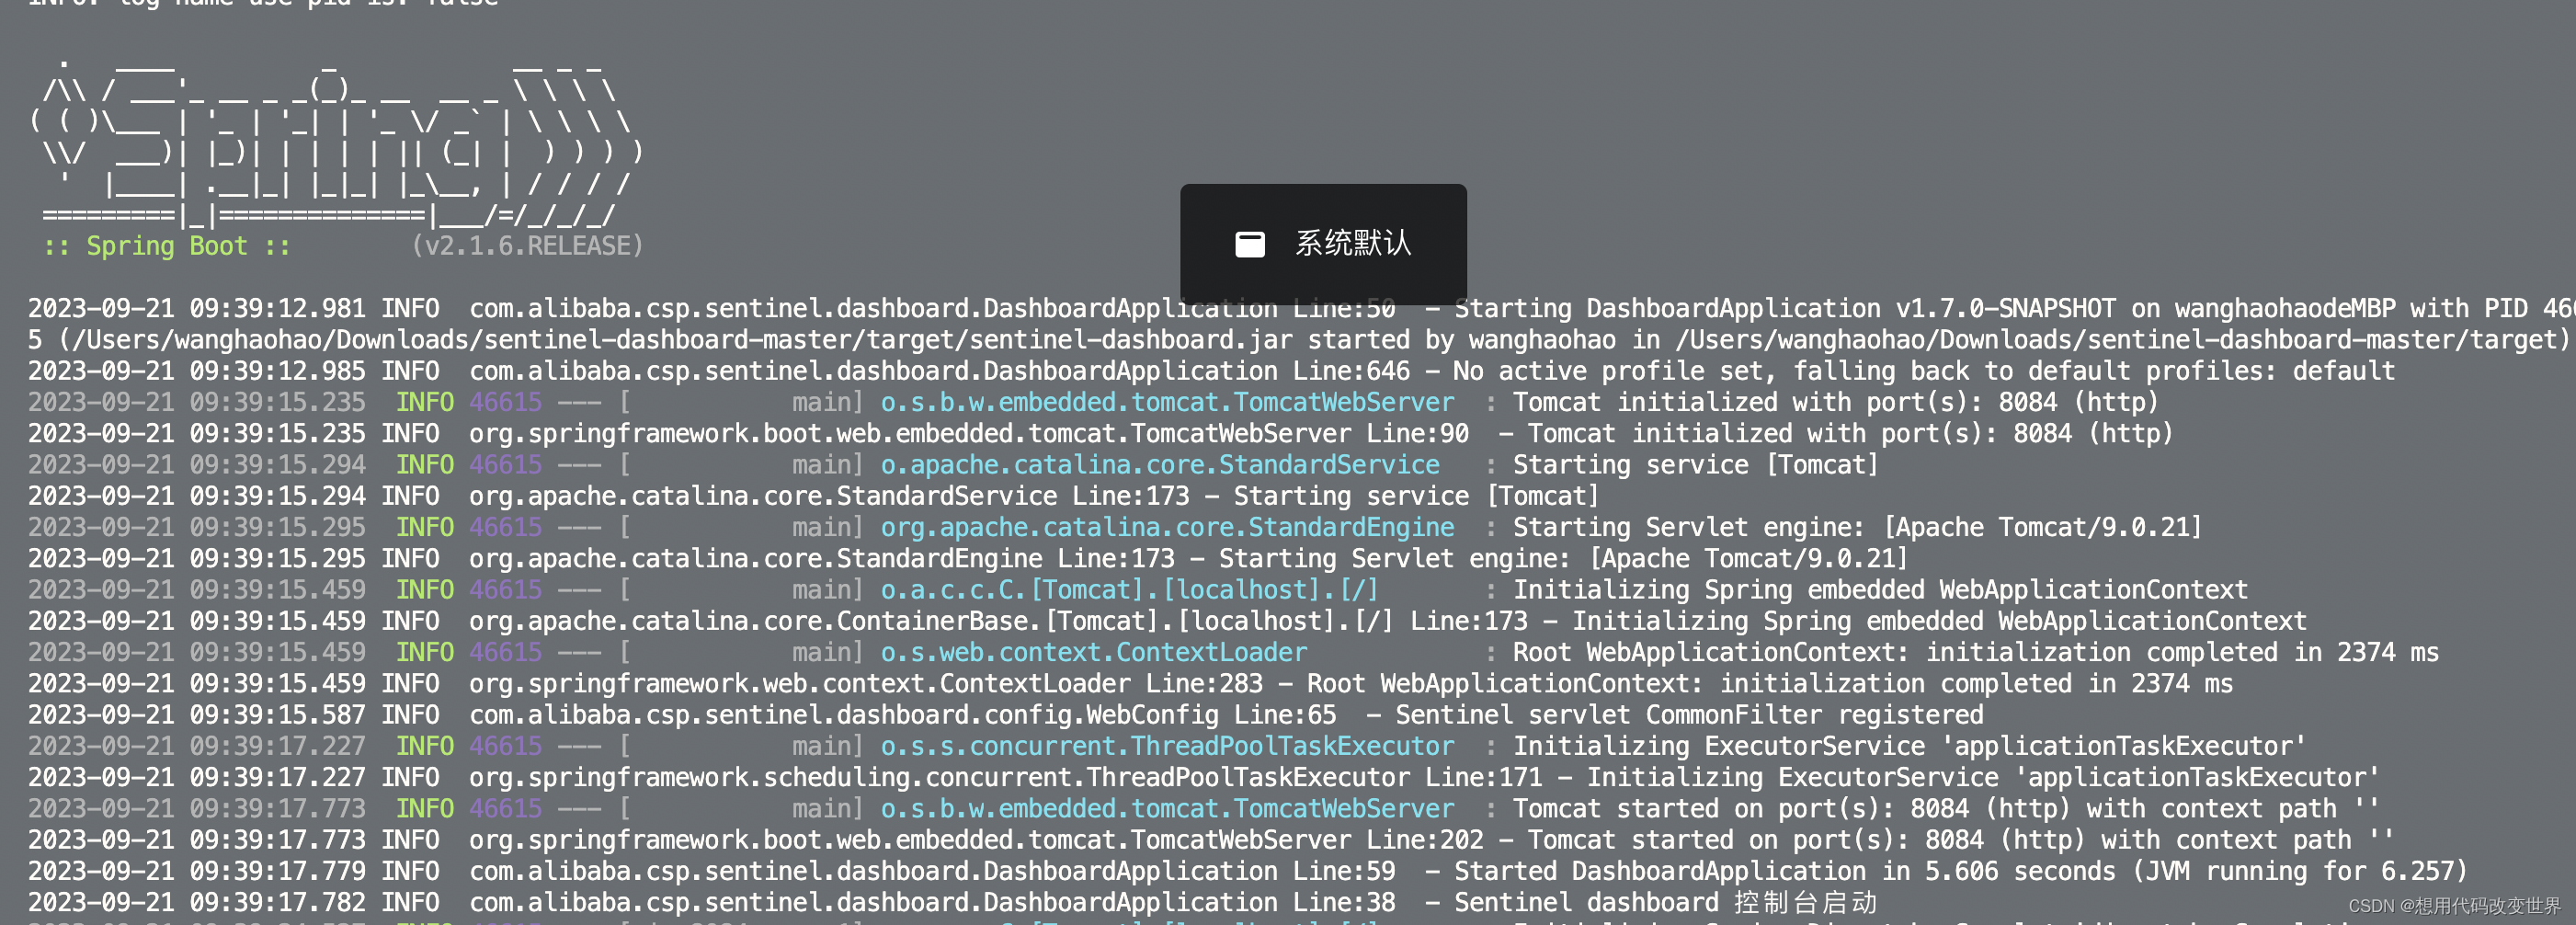
4、web页面
浏览器输入localhost:8084
账号密码:sentinel
5、编写项目,导入pom依赖
<?xml version="1.0" encoding="UTF-8"?>
<project xmlns="http://maven.apache.org/POM/4.0.0"xmlns:xsi="http://www.w3.org/2001/XMLSchema-instance"xsi:schemaLocation="http://maven.apache.org/POM/4.0.0 http://maven.apache.org/xsd/maven-4.0.0.xsd"><modelVersion>4.0.0</modelVersion><groupId>org.example</groupId><artifactId>sentinel</artifactId><version>1.0-SNAPSHOT</version><properties><maven.compiler.source>8</maven.compiler.source><maven.compiler.target>8</maven.compiler.target><project.build.sourceEncoding>UTF-8</project.build.sourceEncoding></properties><parent><groupId>org.springframework.boot</groupId><artifactId>spring-boot-starter-parent</artifactId><version>2.2.7.RELEASE</version><relativePath/></parent><dependencies><dependency><groupId>org.springframework.boot</groupId><artifactId>spring-boot-starter-web</artifactId><version>2.2.4.RELEASE</version></dependency><dependency><groupId>org.mybatis.spring.boot</groupId><artifactId>mybatis-spring-boot-starter</artifactId><version>1.3.2</version></dependency><dependency><groupId>com.alibaba.cloud</groupId><artifactId>spring-cloud-starter-alibaba-sentinel</artifactId><version>2.2.5.RELEASE</version></dependency></dependencies>
</project>
6、新建application.yml文件
server:port: 8001
spring:application:name: sentinel-servicecloud:sentinel:transport:dashboard: localhost:8084eager: true
management:endpoint:web:exposure:include: '*'
7、新建启动类
package com.xxx;import org.springframework.boot.SpringApplication;
import org.springframework.boot.autoconfigure.SpringBootApplication;
import org.springframework.boot.autoconfigure.jdbc.DataSourceAutoConfiguration;@SpringBootApplication(exclude = DataSourceAutoConfiguration.class)
public class SentinelServiceApplication {public static void main(String[] args) {SpringApplication.run(SentinelServiceApplication.class,args);}
}
8、新建controller
package com.xxx.controller;import org.springframework.web.bind.annotation.GetMapping;
import org.springframework.web.bind.annotation.RequestMapping;
import org.springframework.web.bind.annotation.RestController;@RestController
@RequestMapping(value = "test")
public class TestController {@GetMapping(value = "/a")public String test1() {return "Hello,Sentinel --> 1";}@GetMapping(value = "/b")public String test2() {return "Hello,Sentinel --> 2";}
}
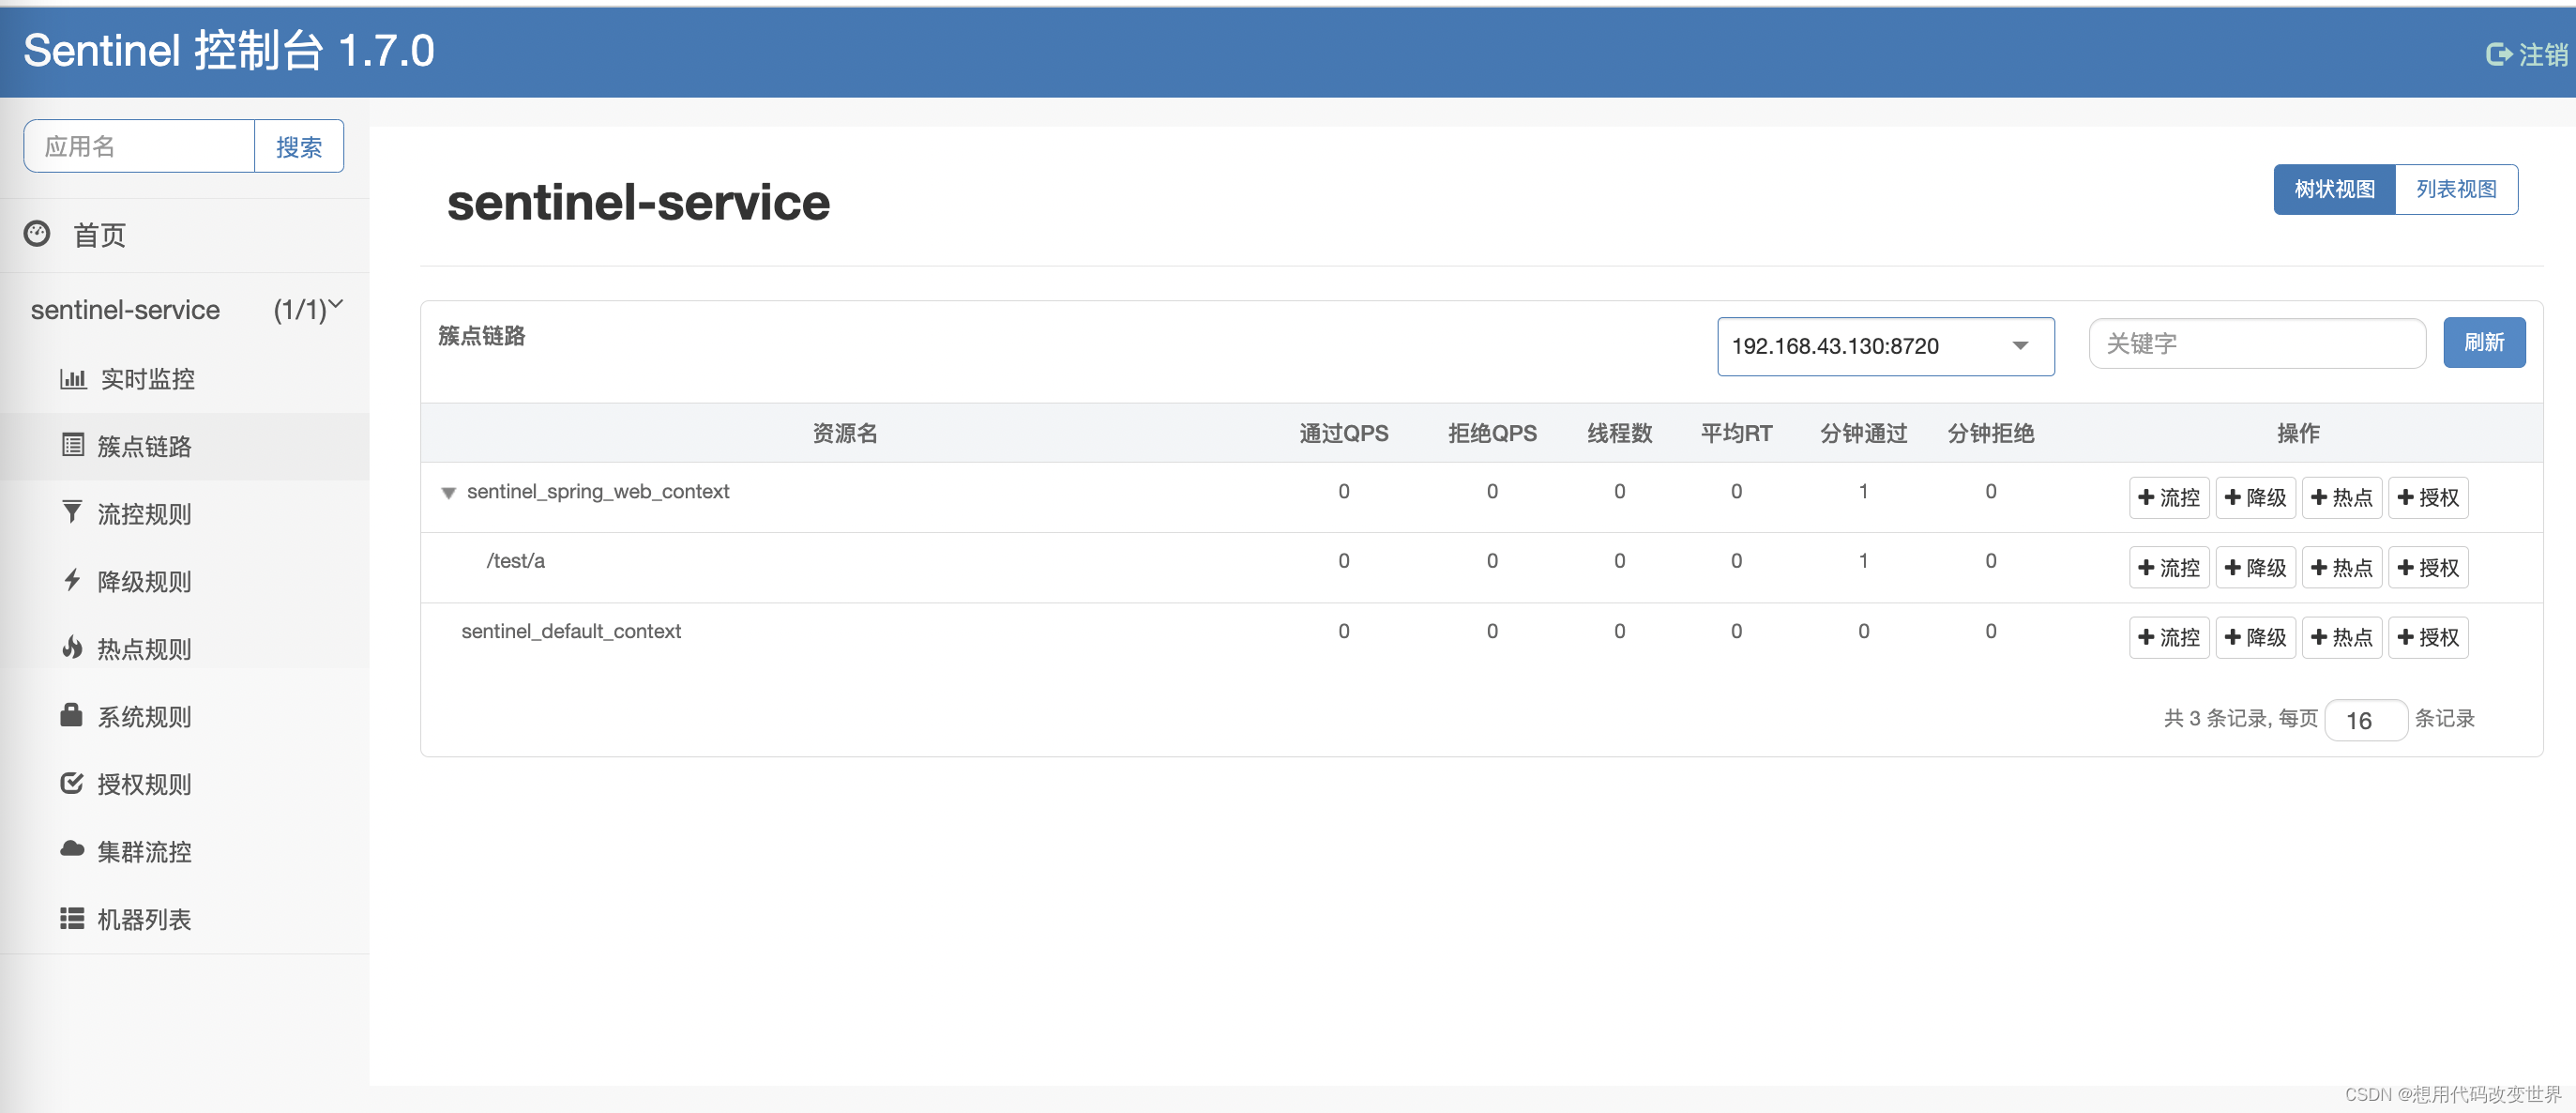
9、启动项目,调用接口
http://localhost:8001/test/a
http://localhost:8001/test/b
有的时候在Sentinel控制台的簇点链路只显示/error和/**,无法显示相应的资源
解决方式:将这个依赖版本升级为2.2.5 即可<dependency><groupId>com.alibaba.cloud</groupId><artifactId>spring-cloud-starter-alibaba-sentinel</artifactId><version>2.2.5.RELEASE</version></dependency>
10、现在给/test/a限流
点击流控按钮,新增流控规则即可
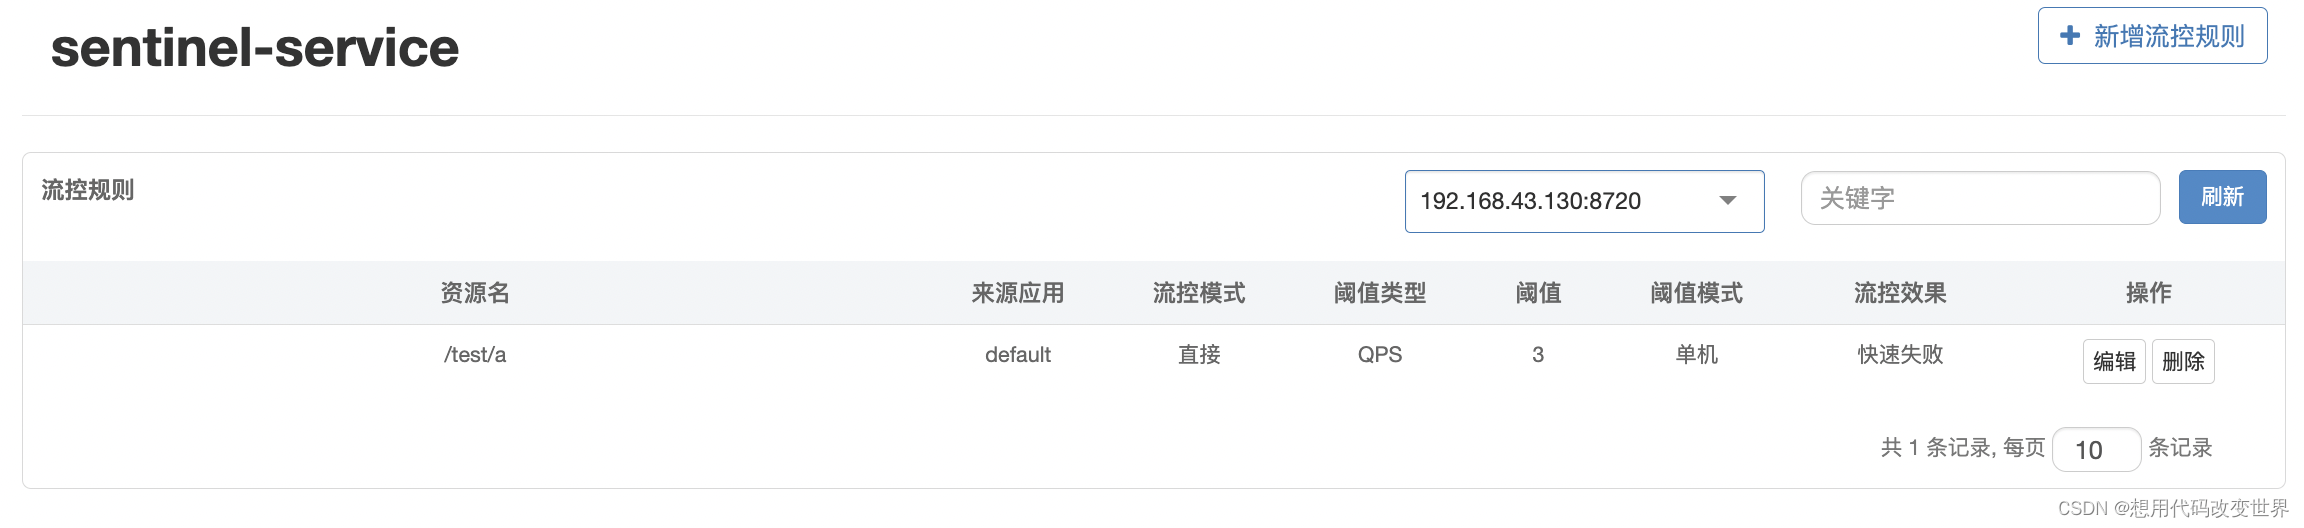
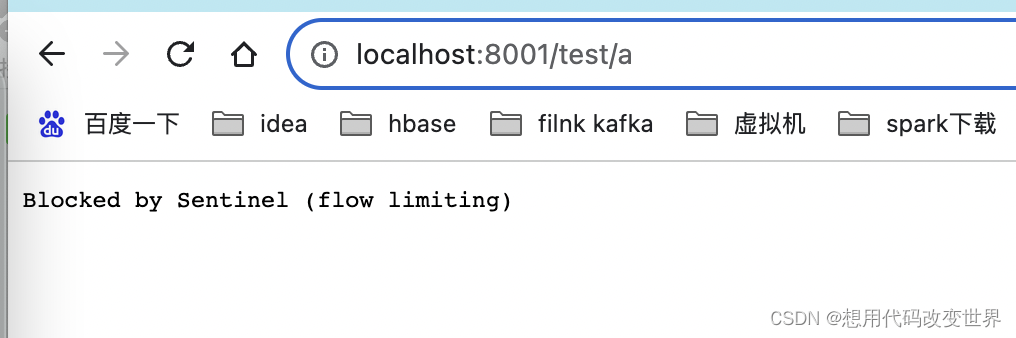
11、页面展示
连续点击三次,就会出现限流操作,至此 搭建完成。。。
查看全文
99%的人还看了
相似问题
猜你感兴趣
版权申明
本文"springboot整合sentinel完成限流":http://eshow365.cn/6-11003-0.html 内容来自互联网,请自行判断内容的正确性。如有侵权请联系我们,立即删除!